 Wednesday evenings are War at Sea night at Battleground Games in Abington. Tonight I thought it’d be fun to record my game and write it up as a battle report. I brought my digital camera with the hopes of taking pictures. For some reason it wouldn’t work at the store. Either the battery died or squigs were playing a game of Blood Bowl with its innards.
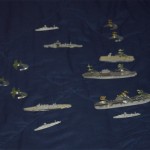
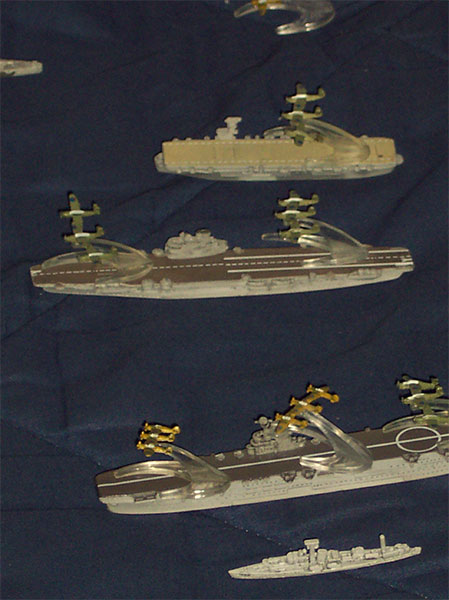
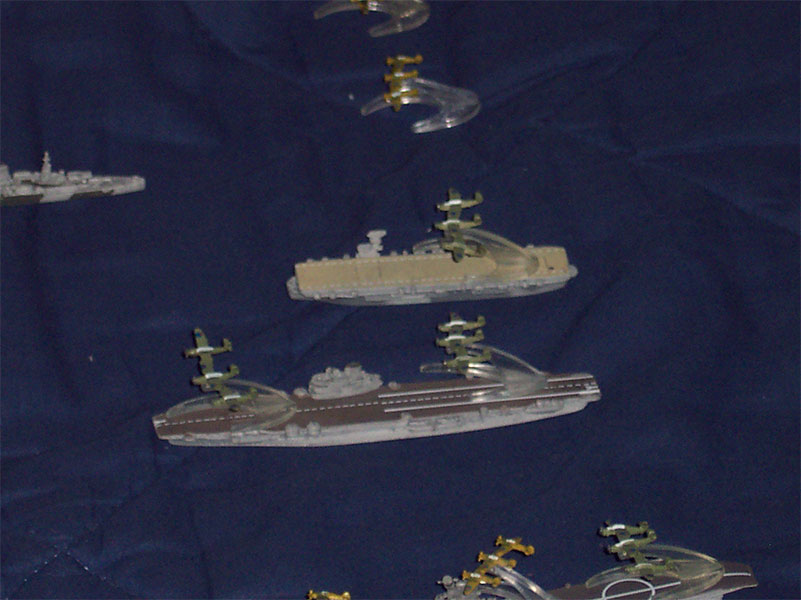
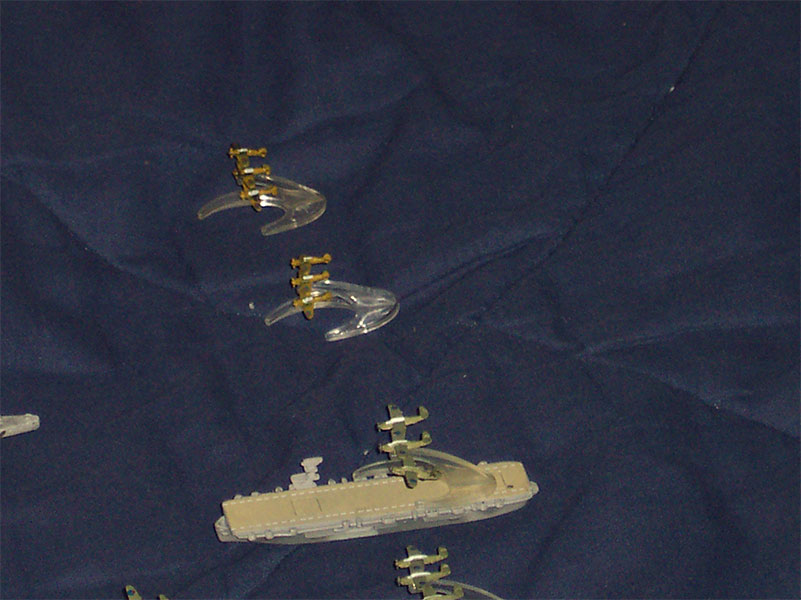
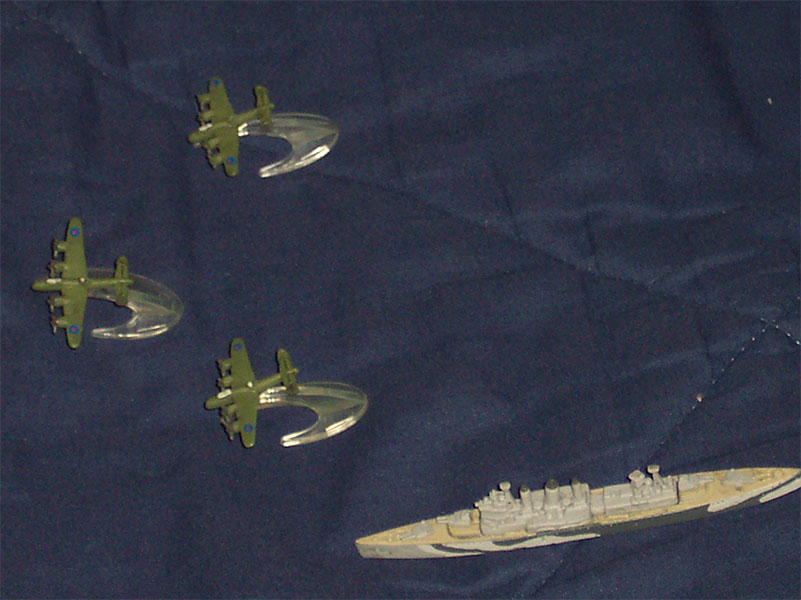
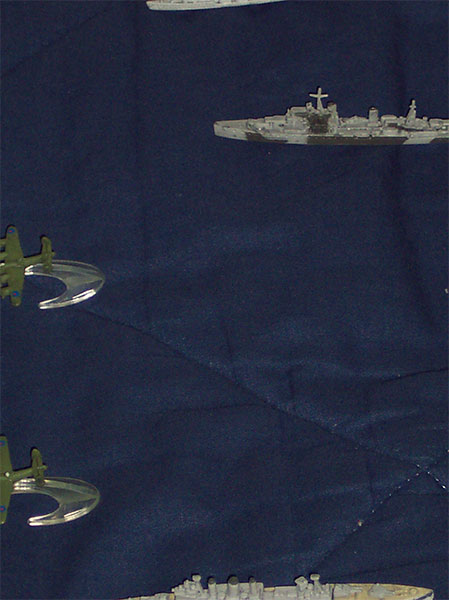
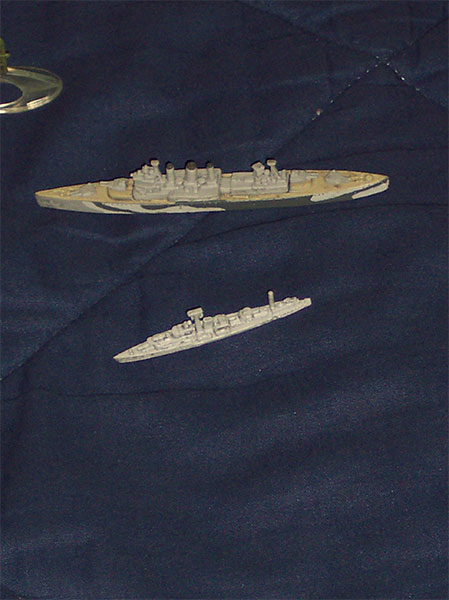
Thankfully I took some pictures of my fleet before I left my house and I have peppered those throughout the battle report. I played a 200pt game against my gaming buddy Rick. Below is the breakdown of our two fleets. Mine is accurate and his is as best I can remember.
United Kingdom
1 HMS Illustrious
-2 Barracuda Mk. II
1 HMS Ark Royal
-2 Sea Hurricane Mk. IB
-1 Barracuda Mk. II
1 HMS Fencer
-1 Barracuda Mk. II
1 HMS Kent
1 HMS Jamaica
3 HMS Javelin
2 Sea Hurricane Mk. IB
3 Halifax GR Mk. V
I’ve never played with a carrier heavy build for the UK. Normally, in the few times I’ve used the UK, I’ve had an Ark Royal with Swordfish and cruisers and battleships such as the HMS Hood. With Task Force out I’d never take the Hood again but I had another goal in mind. I wanted to swarm my opponent with aircraft and maintain air superiority. I didn’t know what Rick would use for his build although I suspected u-boats. I took the three carriers for their SAs supporting torpedo bombers, fighters, and dive bombers. I took the Barracudas for their ability to be either dive or torpedo bombers. The HMS Fencer has a great anti-air SA and I knew I’d need it. The HMS Jamaica and 3 Javelins is a potent combo and I had to take a ship with Flagship 1 to make the most of it so I grabbed the Kent. With my carrier air wing maxed out I tossed a couple Hurricanes on my land base and 3 patrol bombers for added damage. I expected to hide in a corner with my carriers, pair them up with Javelins to pop smoke, and use my planes to go after subs and any big guns. Hopefully this would be enough to prevent a strong battleship fleet from decimating me in the surface attack phase.
Germany
1 Tirpitz
1 Scharnhorst
1 Admiral Hipper
3 Z20 Karl Galster
3 U-66
2 BF 109
2 FW 200 Kondor
Rick normally plays Allies against my Kriegsmarine builds that center on u-boats. This time the tables turned and he surprised me when he unveiled his fleet. The range 5 guns on the Tirpitz can destroy just about anything on the map. He chose the Z20 as a great escort and had three ships together in each sector. It was almost like he knew what I’d throw against him and put up a great anti-air defensive screen. He had a few planes to support his submarines and fighters to play anti-air defense. His submarines could be a major dilemma and a potent screen for the range 4 and 5 guns of his battleship, battlecruiser, and cruiser.
Map
I rolled a dice for the map and rolled a two. We’d play on a map that doesn’t often see the light of day. A string of islands dot the left side of the map with a shoal on the far right. I took the bottom of the map for my zone giving Rick the top. I deployed first placing the Illustrious and Fencer together. The Ark Royal was escorted by a Javelin. I split the remaining Javelins with the cruisers. The Jamaica went on the far left and the HMS Kent on the far right. I was prepared. Rick put his submarines right against the objectives and grouped his surface ships together, three to a square. Two Z20 with the Scharnhorst and one with the Hipper and Tirpitz on my right.
Turn 1
We rolled for initiative and I won with a 12. My +3 bonus from the Jamaica and the Javelins put me over the top and the future appeared bright before me. Rick moved his surface ships up two spaces and did the same with his U-66. At first I didn’t notice until I started to evaluate my moves. I pointed out their movement of 1 despite the error on the stat cards. Anyone would have made the same mistake and this goes to show the problems that exist in printing incorrect information on stat cards. Thankfully the FAQ was on hand. Rick moved the subs onto the objective markers daring me to get in range of their torpedoes.
I contemplated movement for a few moments. Should I move my carriers or not? They’re floating landing strips and those Kriegsmarine guns are deadly. I chose to stay put but moved the Kent/Javelin and Jamaica/Javelin up one spot directly in front of my carriers. With our movements complete Rick began the Air Mission phase by plopping a Kondor on top of my Illustrious. Knowing I had the upper hand in air combat I smiled and put a Barracuda on his far left submarine. He put a Bf109 with his Kondor. I responded with a 2nd Barracuda on his submarine. Rick declined to bring any more of his planes out to play so the air was mine. I launched the last two Barracudas on anti-submarine search and destroy missions against the far left submarine. The carriers launched all fighters, two Sea Hurricanes leaving the deck of the Ark Royal, and heading for the incoming German planes. Air Defense began and Rick failed to abort my Hurricane with his Bf109. I proceeded to fill the sky above the Illustrious with flak. The Fencer used its Fighter Cover 5 to throw five dice across the table against the Kondor. Thankfully the plane was aborted. I then used the Fencers anti-air guns against the fighter and they missed. The two Hurricanes tried to get a lock on the German fighter but couldn’t get the job done. This left the responsibility to the crew of the Illustrious who turned the Bf109 into an explosion as they trained their AA on the zig-zagging fighter. A well placed hit ruptured the gas tank and the plane blew up in mid air. The crew cheered.
The Air Attack phase at hand Rick stood and watched as his Kondor was aborted, previously, and trying to stay out of harm’s way. The spotlight fell to my four Barracudas who were going sub hunting. One of them was an expert at anti-submarine warfare and despite that it failed to hit the sub. Two other Barracudas also failed and the last one managed to cause one point of damage crippling the sub. Its depth charges hit the water and blew up near the submarine. They caused a hull breach. The sub was afloat but badly hurt.
All the remaining planes returned to their bases for re-arming and re-fueling. The End Phase came and turn 2 approached.
We rolled for initiative and I won again with a 11. Rick moved his submarines up one space closer to me and his surface ships moved two putting them near the middle objective marker. Things would get nasty very fast. I opted to keep all my ships in their existing formation. Rick sent out a Bf109 and a Kondor. I repeated the missions from turn 1, sending four Barracudas against the crippled submarine. Two carrier based Hurricanes stayed with the fleet for air defense. My anti-air guns managed to abort the Kondor but failed to do anything to his fighter, which failed to do anything to my fighter. The crew on the ships beneath the Kondor breathed a sigh of relief and all eyes turned to the Barracudas. The men hoped their pilot guardians would send another submarine to Davy Jones’ locker. The Barracudas did not disappoint and sent the crippled submarine to the bottom. Scratch one u-boat Herr Donitz. The British cheered and then a terrifying sound reached the men on the Kent.
The Tirpitz opened fire with its range 5 guns and did a point of damage to the Kent. The cruiser shuddered but it remained intact. If the shells hit a few meters forward they would have impacted the magazine and destroyed the cruiser outright. In response the Javelins lay a protective smoke screen around their wards. The British fleet turtled as their aircraft flew in the fog safely reaching home.
Turn 3
Initiative saw an important change in the game as we had a tie of 13. Rick with the Flagship 2 bonus broke the tie forcing me to go first. Me go first? How absurd. The Fencer swapped places with the Jamaica’s Javelin and all other ships stayed where they were. The Germans moved onto two objective markers, the middle and far left, and the submarines moved forward closing in on their prey. In response the British launched all their aircraft. All Barracudas closed in on the middle submarine. Fighters went on strafing runs against two of the Z 20s, protecting the Scharnhorst, and 2 Halifax went after the Tirpitz. The Z20s shot down the strafing Hurricanes before they could do any damage. On top of that one of the Barracudas was shot down. Things were not going according to plans for the British pilots and they knew it. Something changed and they could feel it in their bones.
The Javelin escorting the Illustrious lay a smoke screen enveloping the carrier in a protective cocoon. In response the Admiral Hipper fired but failed to do any damage. The Scharnhorst then tried to take out the Fencer but the shells went wide in the smoke. The Hipper then used its secondary guns to light up the Kent, which crippled the British flagship. The Tirpitz then fired on the Illustrious and the smoke screen couldn’t save the carrier from suffering a point of damage. Luckily the flight deck remained operational. The middle U-66, now within range, unleashed a single torpedo at the closest Javelin. It had to initiate evasive maneuvers while the Barracudas attacked but failed to damage it. The British held their breath and then exhaled as the torpedo went wide of its mark.
The planes returned home, some out a turn re-arming on the land airbase, and Rick took 150 points worth of objective markers. He needed 100 more points to win the game and 75, in the form of the third marker, were easily in reach. The tide had turned and the British were suffering losses.
Initiative saw the UK winning with 11. Rick moved his surface units towards the last objective. If he took this by end of next turn he’d win the game. The British vessels remained still and all remaining aircraft went after the center submarine. The Barracudas destroyed it to the delight of the pilots. The Fencer once again aborted an incoming Kondor and perhaps things weren’t so bad. Then the Germans opened fire with their guns. The Scharnhorst shot at the Ark Royal destroying it outright. The shells landed in the bridge and the flight deck, which was strewn with fuel canister. The ship blew up like a powder keg and sunk to the bottom with all hands. One of the Javelins was crippled by the bigger German guns and the remaining Hurricane from the Ark Royal fled to the land base.
Turn 5
The British once again won initiative and Rick moved the German ships onto the last objective. All he needed to do was stop my air onslaught and he’d claim game. The British ships moved to the far left of the map seeking shelter. Rick had no aircraft available for missions leaving the skies open to the British. All aircraft closed in on the Tirpitz and its escorts. One Barracuda got a lucky hit with two torpedoes doing 2 damage to the Tirpitz because of its torpedo defense. The Halifax failed to do any damage. The Germans claimed the last objective as the British planes fled to their carriers.
The British carrier group limped off in the dark hoping to evade the superior German guns.
Aftermath
The game started off well with British air power controlling the pace. Once the Germans got within range 5, and even 4, the tables turned. At 200pts it is important to have something with range and I failed to do that. In the future I need to drop a carrier and put a battleship in. Something like the King George V, Rodney, or Warspite once I get that. I focused a lot on the submarines because I know how deadly they can be. But, I suffered when I couldn’t see the forest from the trees. Rick played the Germans like an expert and it was a great game. I had a blast playing as the UK because I normally play as Germany. Although I lost at least it was to the Germans. By my count German u-boat builds are 6-0 in our gaming group with the latest win by Rick. Next time around my British won’t be so timid and I’ll have some real surface firepower to battle against the German battlecruisers. They may have won the battle but they’ll never win the war!

