Daybreak at Hangman’s Creek Coming to The Whiz on Oct 8 2011

Who wants to play some Black Powder at The Whiz’s new location in Westborough?

Adrian, Cort, and myself are going to run Daybreak at Hangman’s Creek on Saturday, October 8th at 2pm at The Whiz’s new location in Westborough.  The game will be played according to the scenario in the Black Powder book and will be played with 15mm figures.

Cort owns 156 stands of infantry, 20 stands of cavalry, and 18 artillery pieces covering both the Union and the Confederacy.

If you want to try Black Powder for the first time or simply get another game in then we hope you will play this game with us at The Whiz.  There is space for 6 players (3 per side).  All we ask is that you supply your own dice and measuring tape.  The Whiz and us are supplying the rest.

This will be our first time running a Black Powder game and first time playing this game.  But, we expect it to be a blast!

If you know you will be coming please let me know, off list, and if you’re interested but not certain you can make it let me know that too.

Any questions don’t hesitate to ask.  For more information about The Whiz (including directions) go to www.whiznet.com

Don’t forget:

American Civil War.
Daybreak at Hangman’s Creek
Black Powder rules
Saturday, October 8th
2pm
The Whiz in Westborough

Hope to see you there!

RSVP at the Facebook event.

Army Painter Quick Shade

A trip to The Whiz, Rte 9 East in Westborough, resulted in a special order for Army Painter Quick Shade Strong Tone for $29.99.  Chris Walsh, co-owner with wife Lynne, used this to paint an entire 2,000 point Flames of War French army in record time.  That is all I needed to hear before wanting to know how to use this wonder product.

A 28mm Perry Miniatures horse is the guinea pig for my Quick Shade test.  If all goes according to plan, then my horses and dragoons for my AWI American Militia will be painted the same way.

Chris expressed the importance of using a lighter shade for the base coat than the desired finished color.  He explained that the Quick Shade will darken colors.  When using the Quick Shade be sure to do so in a well ventilated room.  The product has a strong turpentine smell.

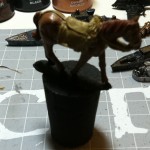
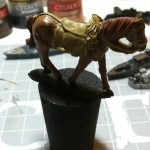
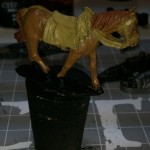
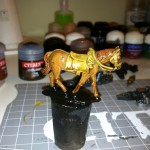
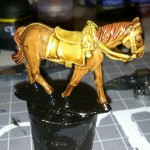
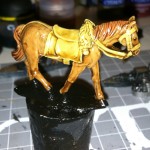
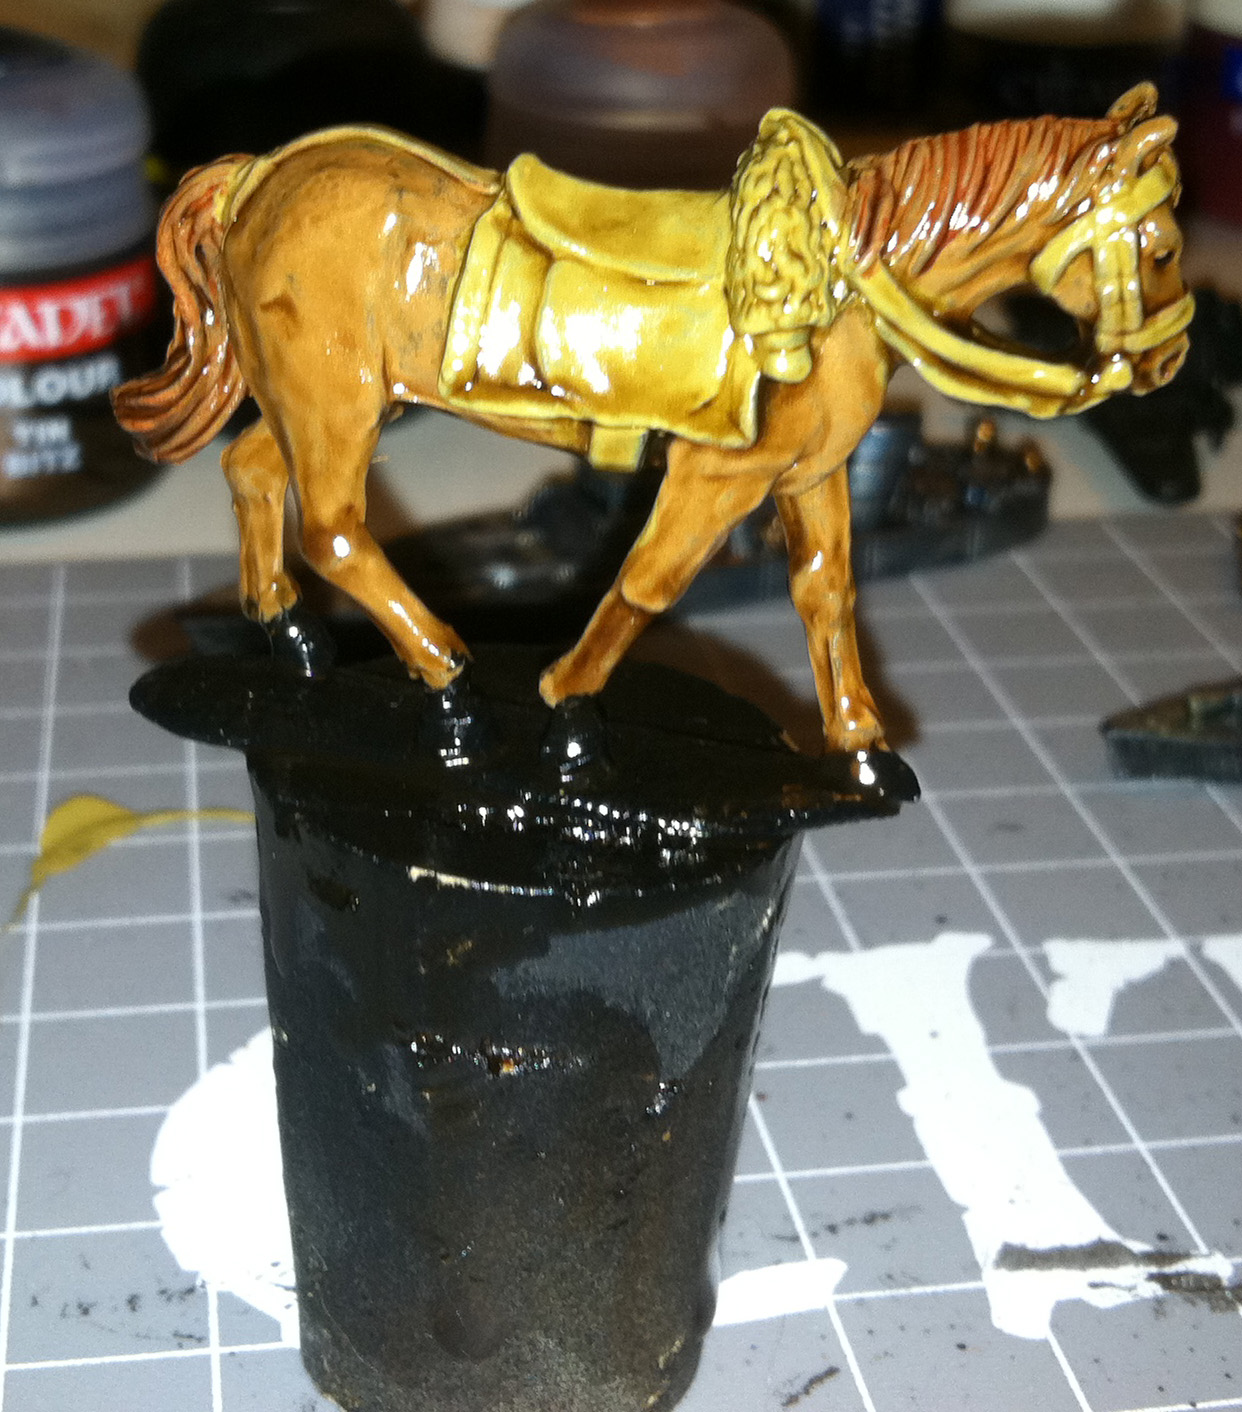
I primed the horse with Citadel Chaos Black spray.  Once dry I applied a base coat of Vallejo Model Color 135 Beige Brown to the horse and Citadel Dessert Yellow to the saddle and bridle.  A touch up of Citadel Chaos Black to the eyes followed.  A light application of Citadel Dark Flesh was applied to the tail and mane for added distinction.  After this dries we can dip.

All of my models are temporarily glued onto cork bases, with a small dab of superglue but Blu-Tack also works, so I didn’t need pliers or any other tool to hold onto the model while dipping.  The can of Quick Shade needs to be opened, as you would a can of house paint, with a regular screwdriver.  Gripping the cork I inverted the model into the Quick Shade.  After a few moments I removed the model and shook off excess Quick Shade.

The horse has several areas where the Quick Shade might pool and form an inpenetrable, and ugly, mass.  Between the tail and rear legs, between each leg, and between the head and the reins are the spots to look at.  Chris suggested an Ultrabrush from Microbrush International as a great way to remove the excess from those spots.  A pack of ten brushes costs $2.59.  I inserted the brush into the necessary aperture and the Quick Shade attached to the brush.

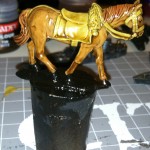
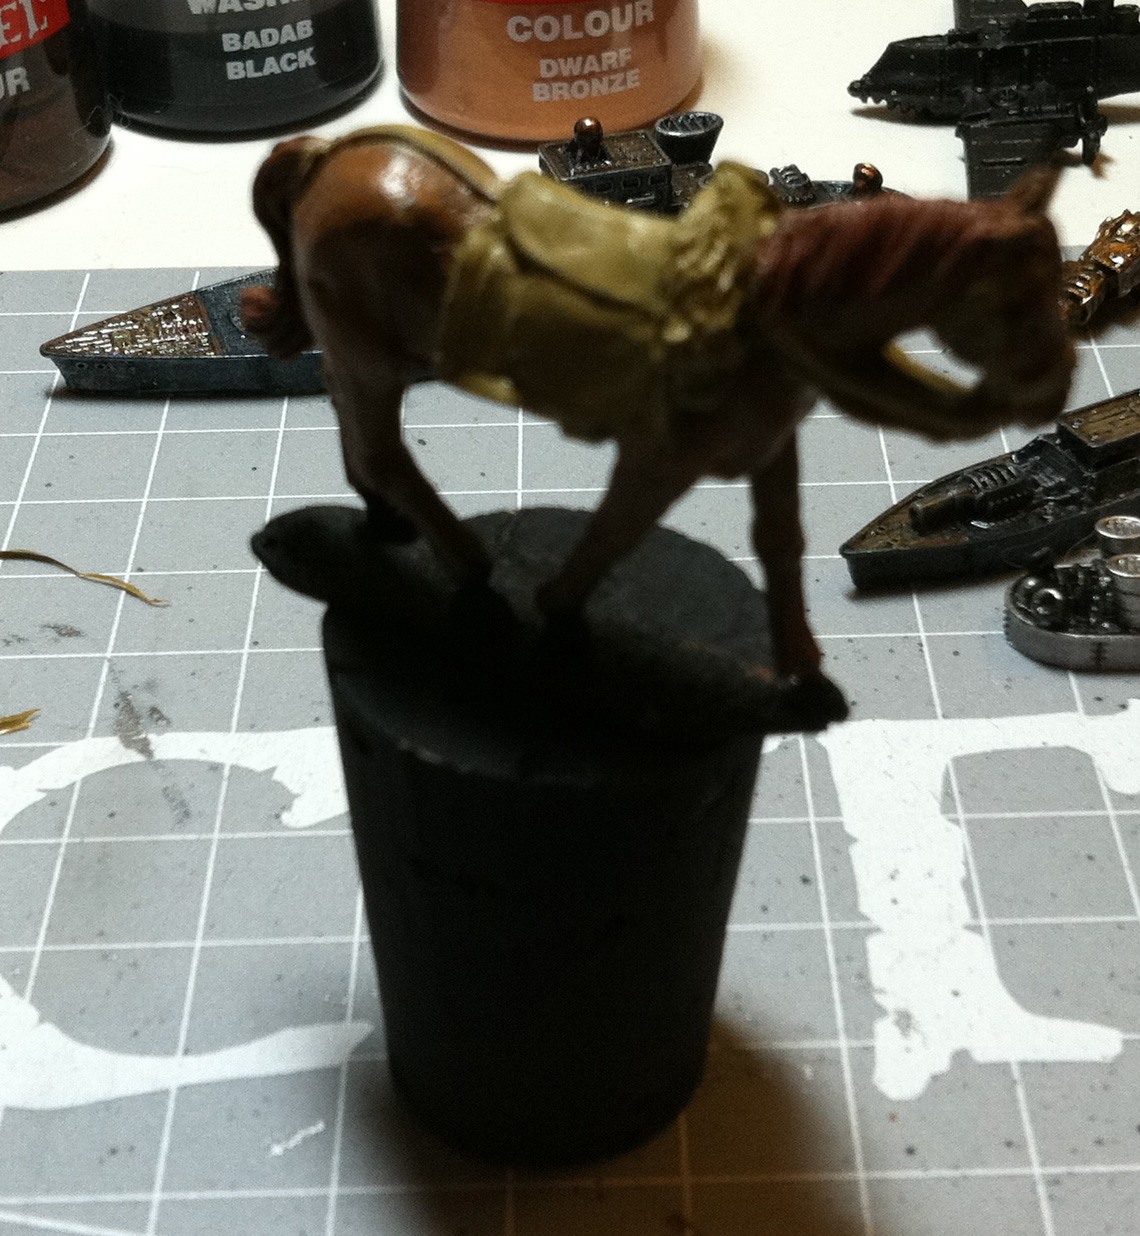
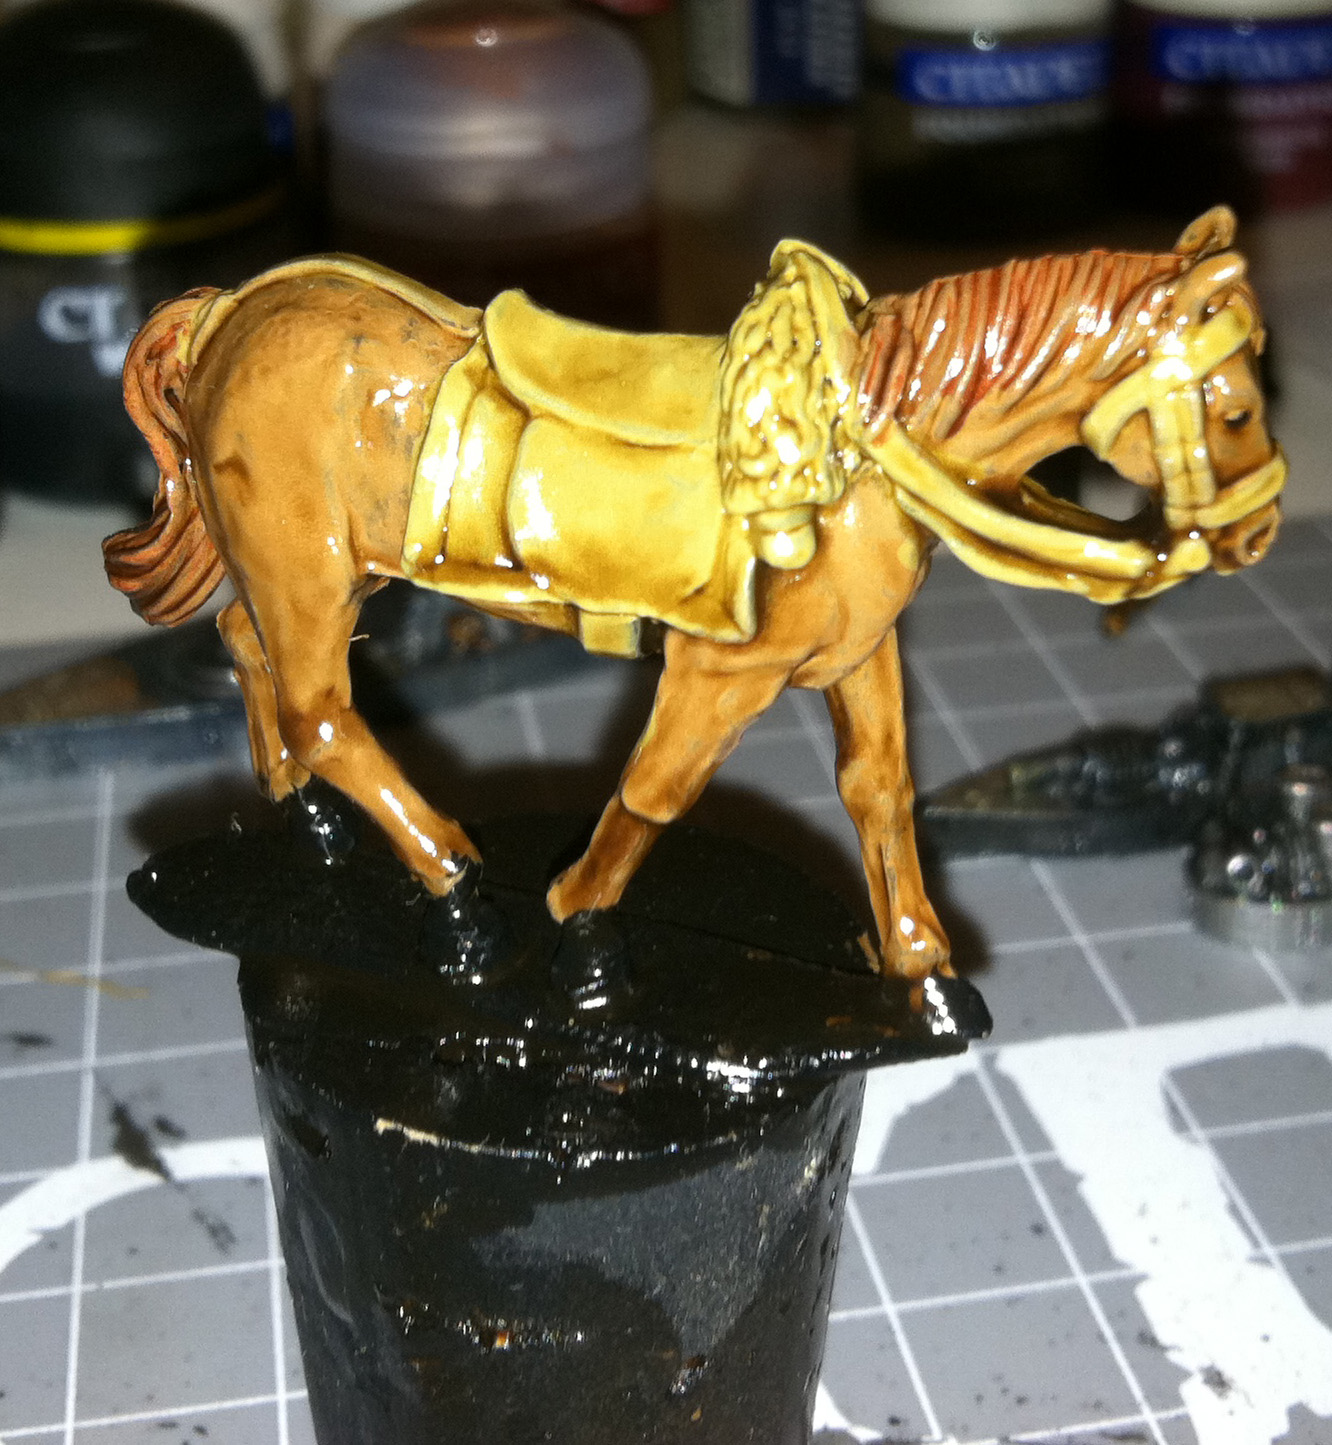
Although the instructions say to give 18-24 hours for drying to complete that may not be necessary.  Chris said he only gave 24 hours for drying and was happy with the result.  I took pictures of the horse after the base coat, 18 hours of drying and again after 36 hours.

There is strong debate whether you should dip your models or paint on the Quick Shade.  Gordon, owner of Adler Hobby, prefers to paint the Quick Shade onto the models.  He’s talked about this on his Black Powder New England Yahoo Group.  At first I thought I’d want to paint the Quick Shade onto my model but dipping is quick, easy, and accessible.  A word of caution before you attempt this.  Wear gloves (latex or latex-free if you’re allergic) like they do at the dentist/doctor is strongly recommended.  The Quick Shade got on my hands and the only way I could get it off was by scrubbing my hands with a Lysol wipe.  Save yourself the trouble and wear gloves.  You can get them at just about any local pharmacy, Walmart, Target, etc.

Bristling With Enthusiasm

In order to apply paint onto the molten (or plastic) toy soldiers one must use a paint brush.  But, what type of brush should you use?  This depends on the type of paint being used.

Most of my brushes are purchased from the local craft shop, A.C. Moore in my case, where there’s many to choose.  Brushes with small and thin points are a necessity.  Comfort grips on the handles eases the burden on the hand.  Believe me that makes painting unit after unit almost painless.

Cost is also a factor.  Do you buy the high end Kolinsky sable brush or a more affordable economy brush?  There’s no right or wrong answer because it is a matter of taste.  A trip to The Whiz in Westborough resulted in my purchasing an economy Testors brush for the first time.

No matter what I do my brushes quickly wear out.  Most reliable sources will tell you to avoid getting paint in the ferrule (the part where the handle meets the bristles).  That will cause the brush to lose its point.  Brushes should also be stored with the bristles up.
What brushes do you buy and what do you use them for?  Do you have any brush care tips?  We’d love to hear them.

I’ve Got a Golden Ticket

With delight, happiness, and joy I announce the conclusion of the Name the Podcast Deux Contest.  Almost 30 potential names were submitted.  They range from Games for Gamers and Doughboy’s Telegraph to Wargaming Recon and Intercourse of the War Gamer.

The winning name is Wargaming Recon!  It is a name I created by combining submissions from Cort Naegelin and Andrew Malcolm.  Both of them are the official winners of this contest.

Read More»

Painting Station

As a teenager I had a space and table dedicated to assembling and painting models.  Back then I hated that aspect of playing miniatures games like 40k and Warhammer Fantasy.  The table eventually went away but the desire for a painting table returned after my wedding.  Moving into the new condo I knew that not only did I want a dedicated painting table but that the space existed for it.

My wife was onboard and preliminary thoughts were to put it in the bedroom.  That proved impossible once furniture was set up.  An even better space became apparent in the living room across from the computer.  The previous residents used the spot for a tall breakfast table and I turned it into my painting nook.

The table is an old Ikea computer desk my wife had in her first apartment.  Yankee ingenuity kept it from the trash heap. It is a sturdy platform to paint on.  Measuring 30 1/2 inches wide, 19 1/2 inches deep, and 29 1/2 inches high it would do the job nicely.  An Ottlite with daylight bulb provides the best lighting conditions for painting.  A taller lamp, from Walmart, provides a gentle background glow.

Read More»