This is part 3 of my multi part series which will cover the basics of miniature painting from the materials to finishing. The month is painting the eyes.
Supplies have been bought (Part 1) and prep is complete (Part 2). Now it’s time to get some paint on that mini! Let the fun begin.
Where to begin on this blank canvas…I mean mini? Look no further than painting the eyes.
Ah yes, the eyes. Those tinier than tiny spots, which are the bane of many a painter’s existence. There is hope for us all when utilizing this series of steps. I have found they make life (and painting eyes) much easier. My thanks to Darren Hlavez, who was my main teacher back in the day. He is the author of the “Bette Davis Eyes” instructional found on the Reaper mini website. He taught me the majority of these steps but I have also picked up other tips and am including them as well.
Why have I decided to make this the first step, even before I cover base coating? I have found it helps to start with the inside parts. There is nothing else more inside than the eyes. I also like getting them done so I no longer have to worry about them. There is nothing wrong if you want to paint the eyes and the face last. Just make sure you paint the skin after you paint the eyes. There are reasons for this, which will become clear as I go through the steps. Otherwise, be prepared to touch up your skin after.
The Steps to Making Eyes Look Good.
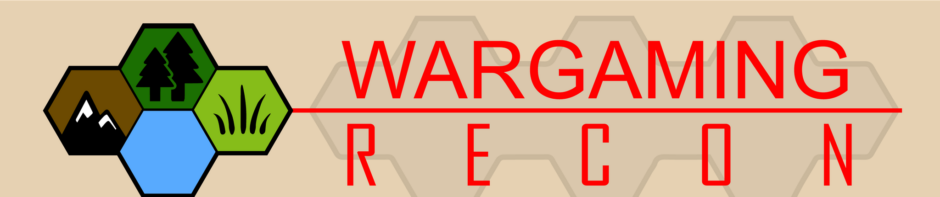
1) Paint the whites of the eyes. Take the mini and paint the eye sockets completely full of whatever color you are using for the whites of the eyes. It should not be pure white, as that will give it a rather unnatural look to them. Of course if you are shooting for something like that, then go with it. Pick an off white which can be either a warm or cool tone. Basically either a cream color, a very pale grey, or even something with a bluish tone.
Take note that you do not have to stay within the lines if you have not worked on the skin around it or if you do not care about touching things up. This is one of the keys to making this process easier.
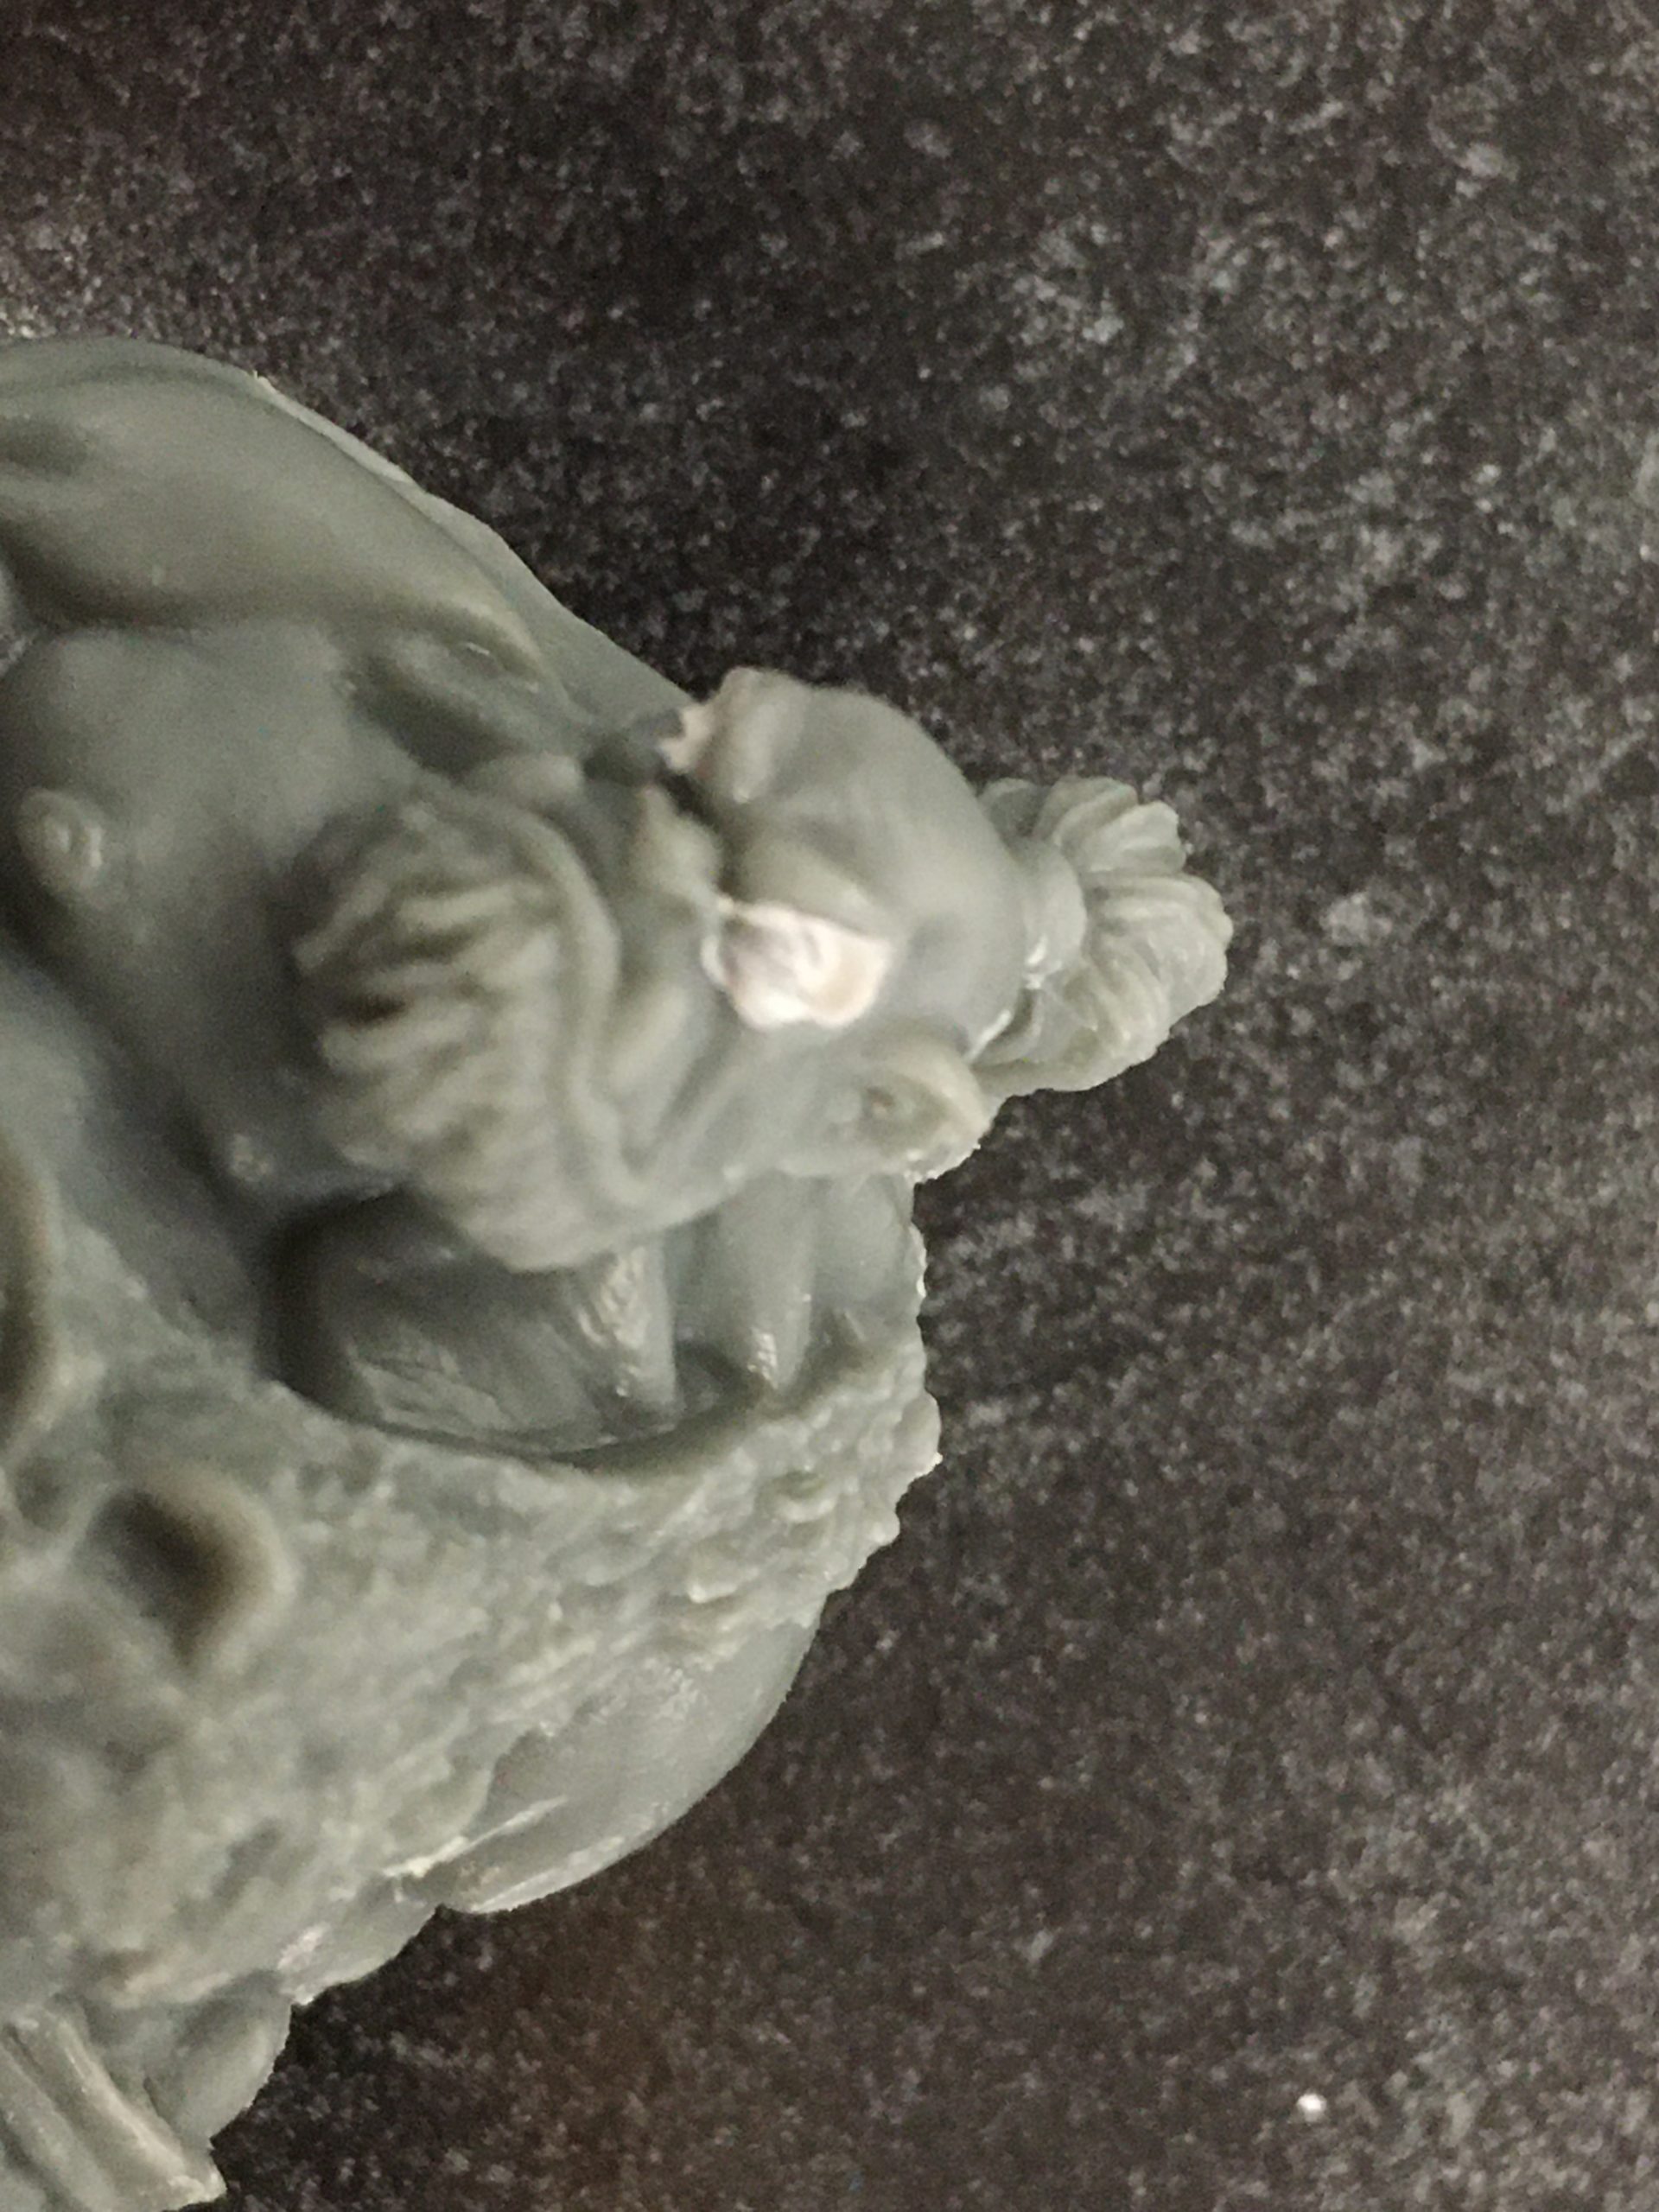
2) Paint the pupils. In the original “Bette Davis Eyes” article and likely the easiest method is to take and paint a north-south line through the eye. Start below the eye socket and paint your line through the entire socket, stopping above it. Once again, you do not have to concern yourself with staying in the lines. This method may be the easiest for beginners to pick up.
That said, the second method for adding a pupil is placing a dot in the white. Do not make this dot overly small or have it be centered and not touching at least the top or the bottom lid, unless you want a crazed or terrified expression.
The third way which I have seen, thanks to Anne Foerster, is to paint a tiny black v with the point going down. It makes for a bit more of a realistic pupil.

In order for the eyes to look normal and not cross-eyed, you need to put your pupils in almost the exact same locations on the white as one another. Many painters have trouble nailing the pupils exactly in the center. No worries at all. Just put them to one side or the other of the eye. This can also bring a greater level of expression to the face and be part of the story your miniature is telling.
3) Add definition. Take a color which is related to the skin tone you are using but darker. For example, for peach skin, use a dark brown, for dark brown, use black, for red, either use a dark reddish brown or a darker red, and so on. Paint around the eyes as if you were applying eyeliner, although the line does not have to be thin at this stage. It can look like a mask.
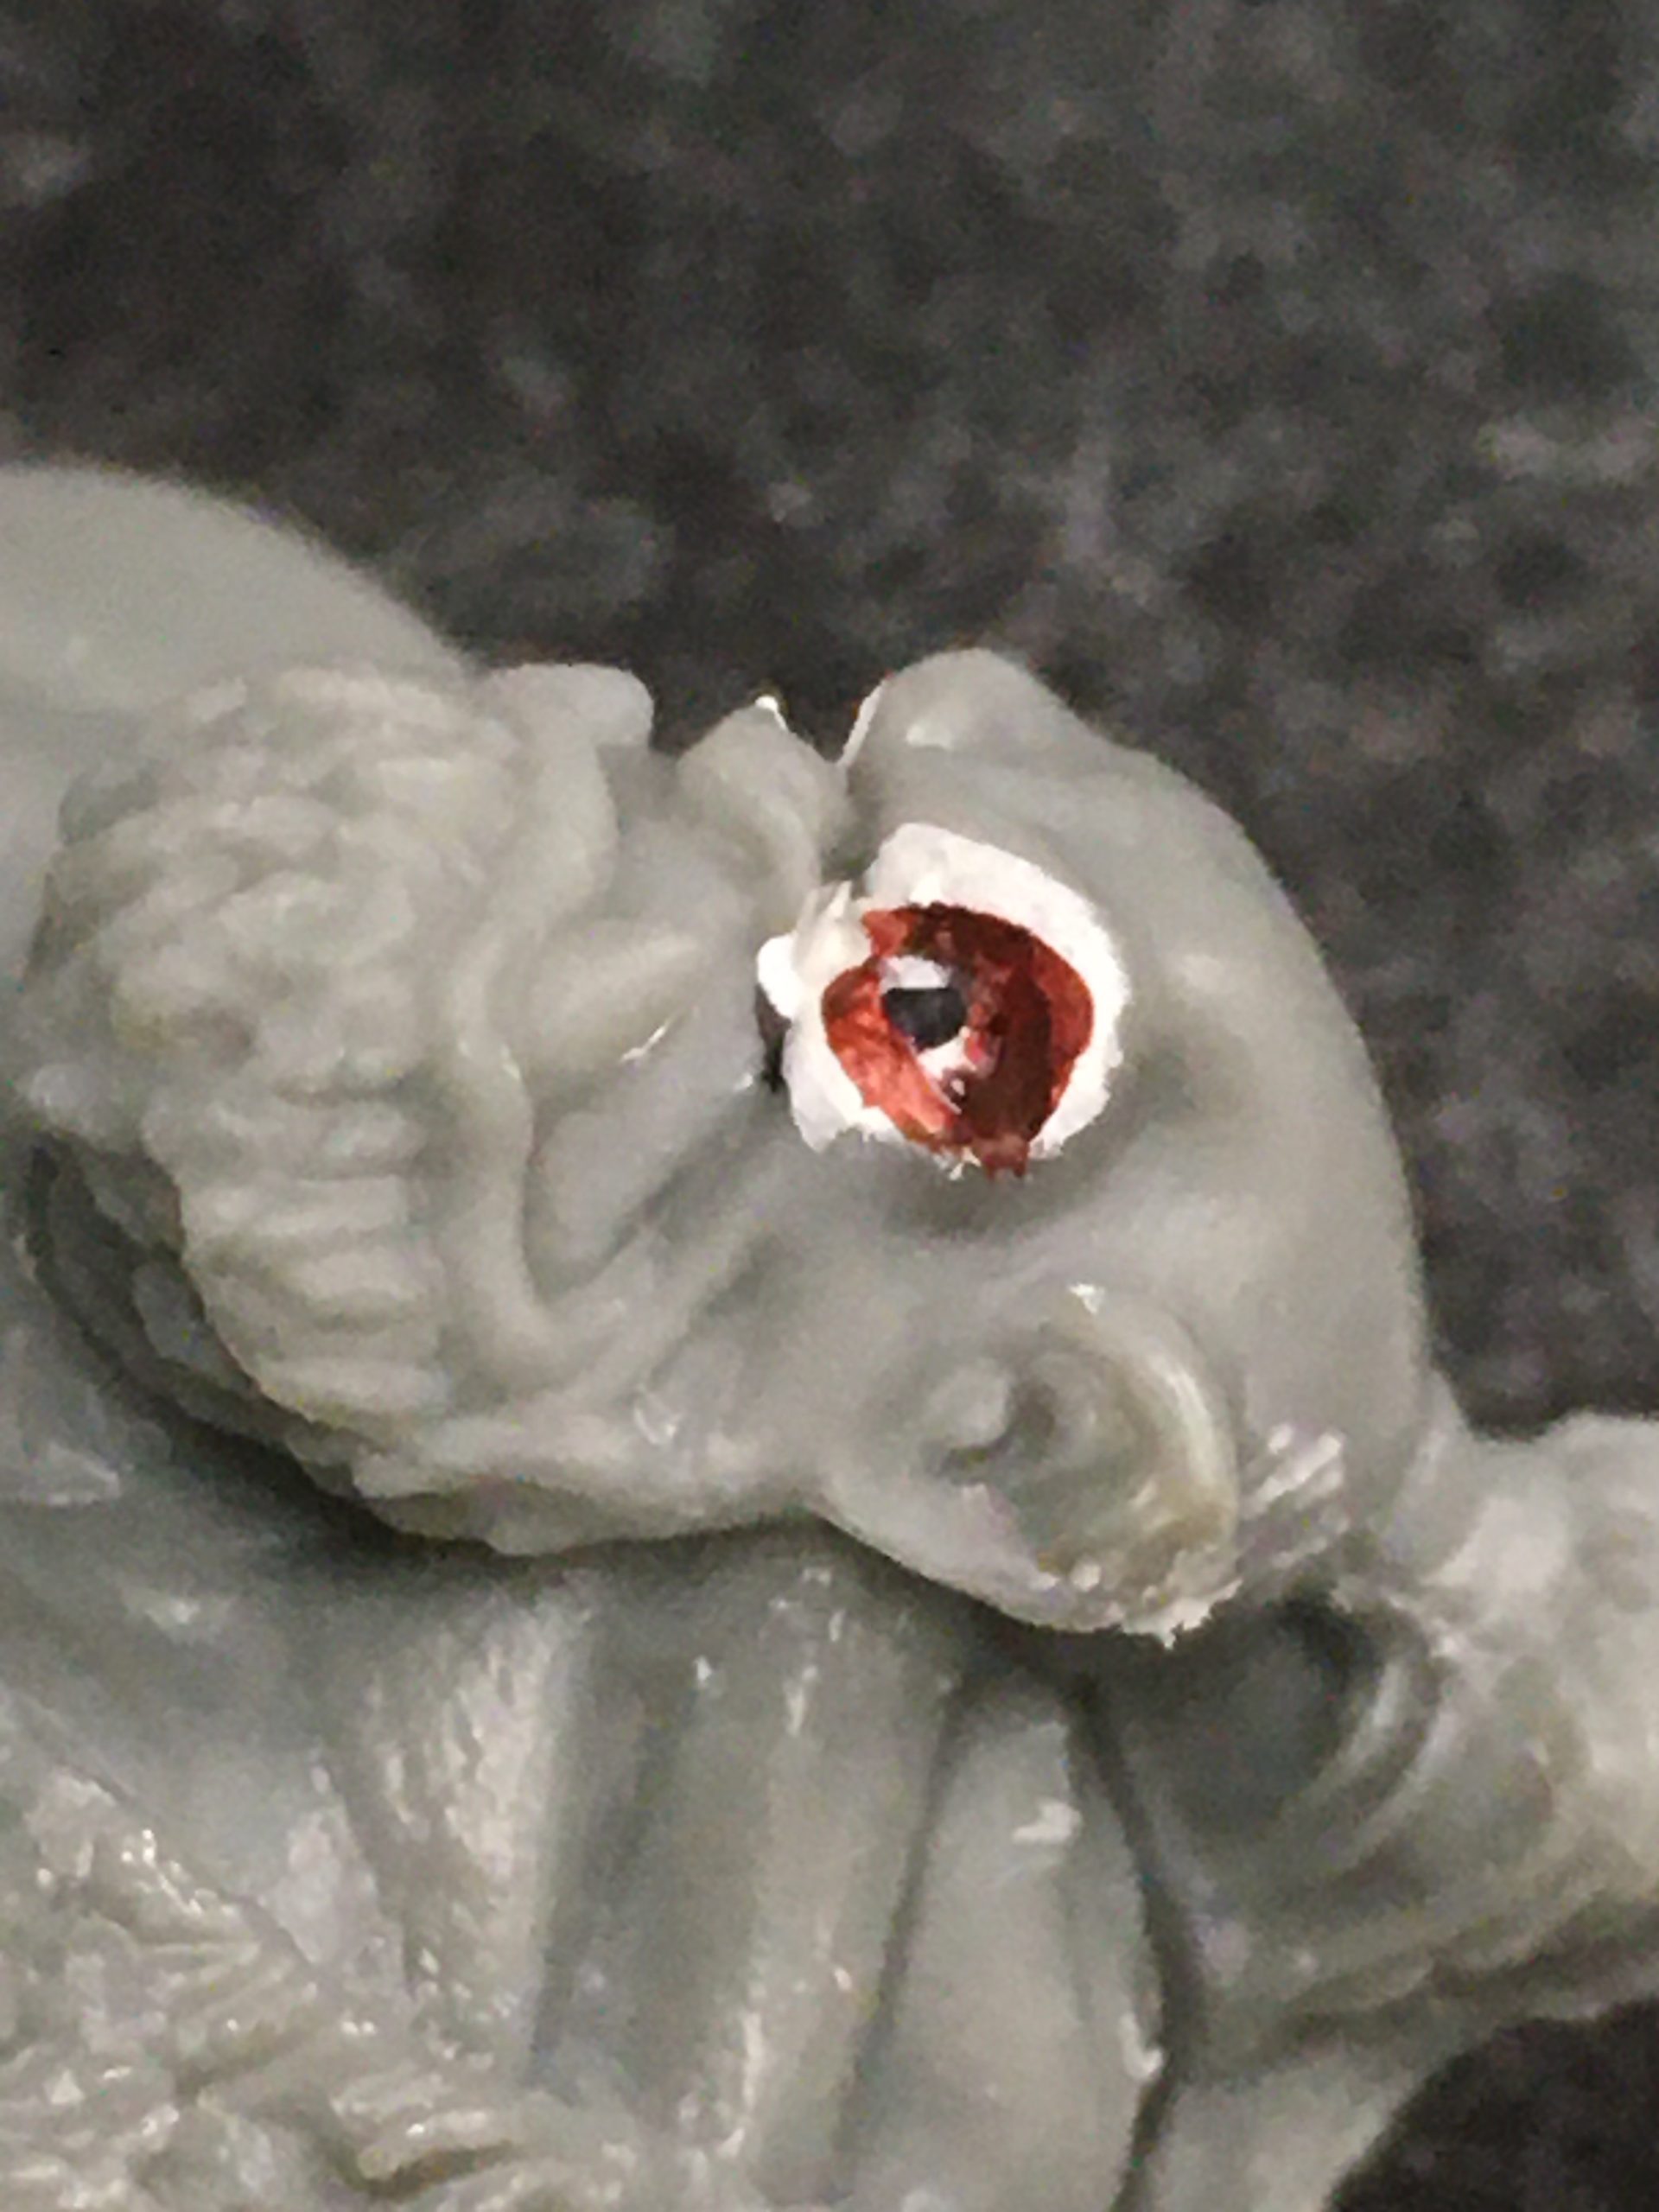
4) Neaten things up. Now take your base coat flesh tone and carefully paint around the eyes, only leaving a thin line of your eyeliner remaining. Your eyes are now complete and you can move onto more exciting things.
There is a variation of this method where you can swap the first two steps. There are painters out there who would rather paint the socket black (or their pupil color) then hit the sides around it using the color for the whites. This works perfectly well and I have found myself doing it this way at times when I need to touch up the white areas.
The final factors in painting good eyes.
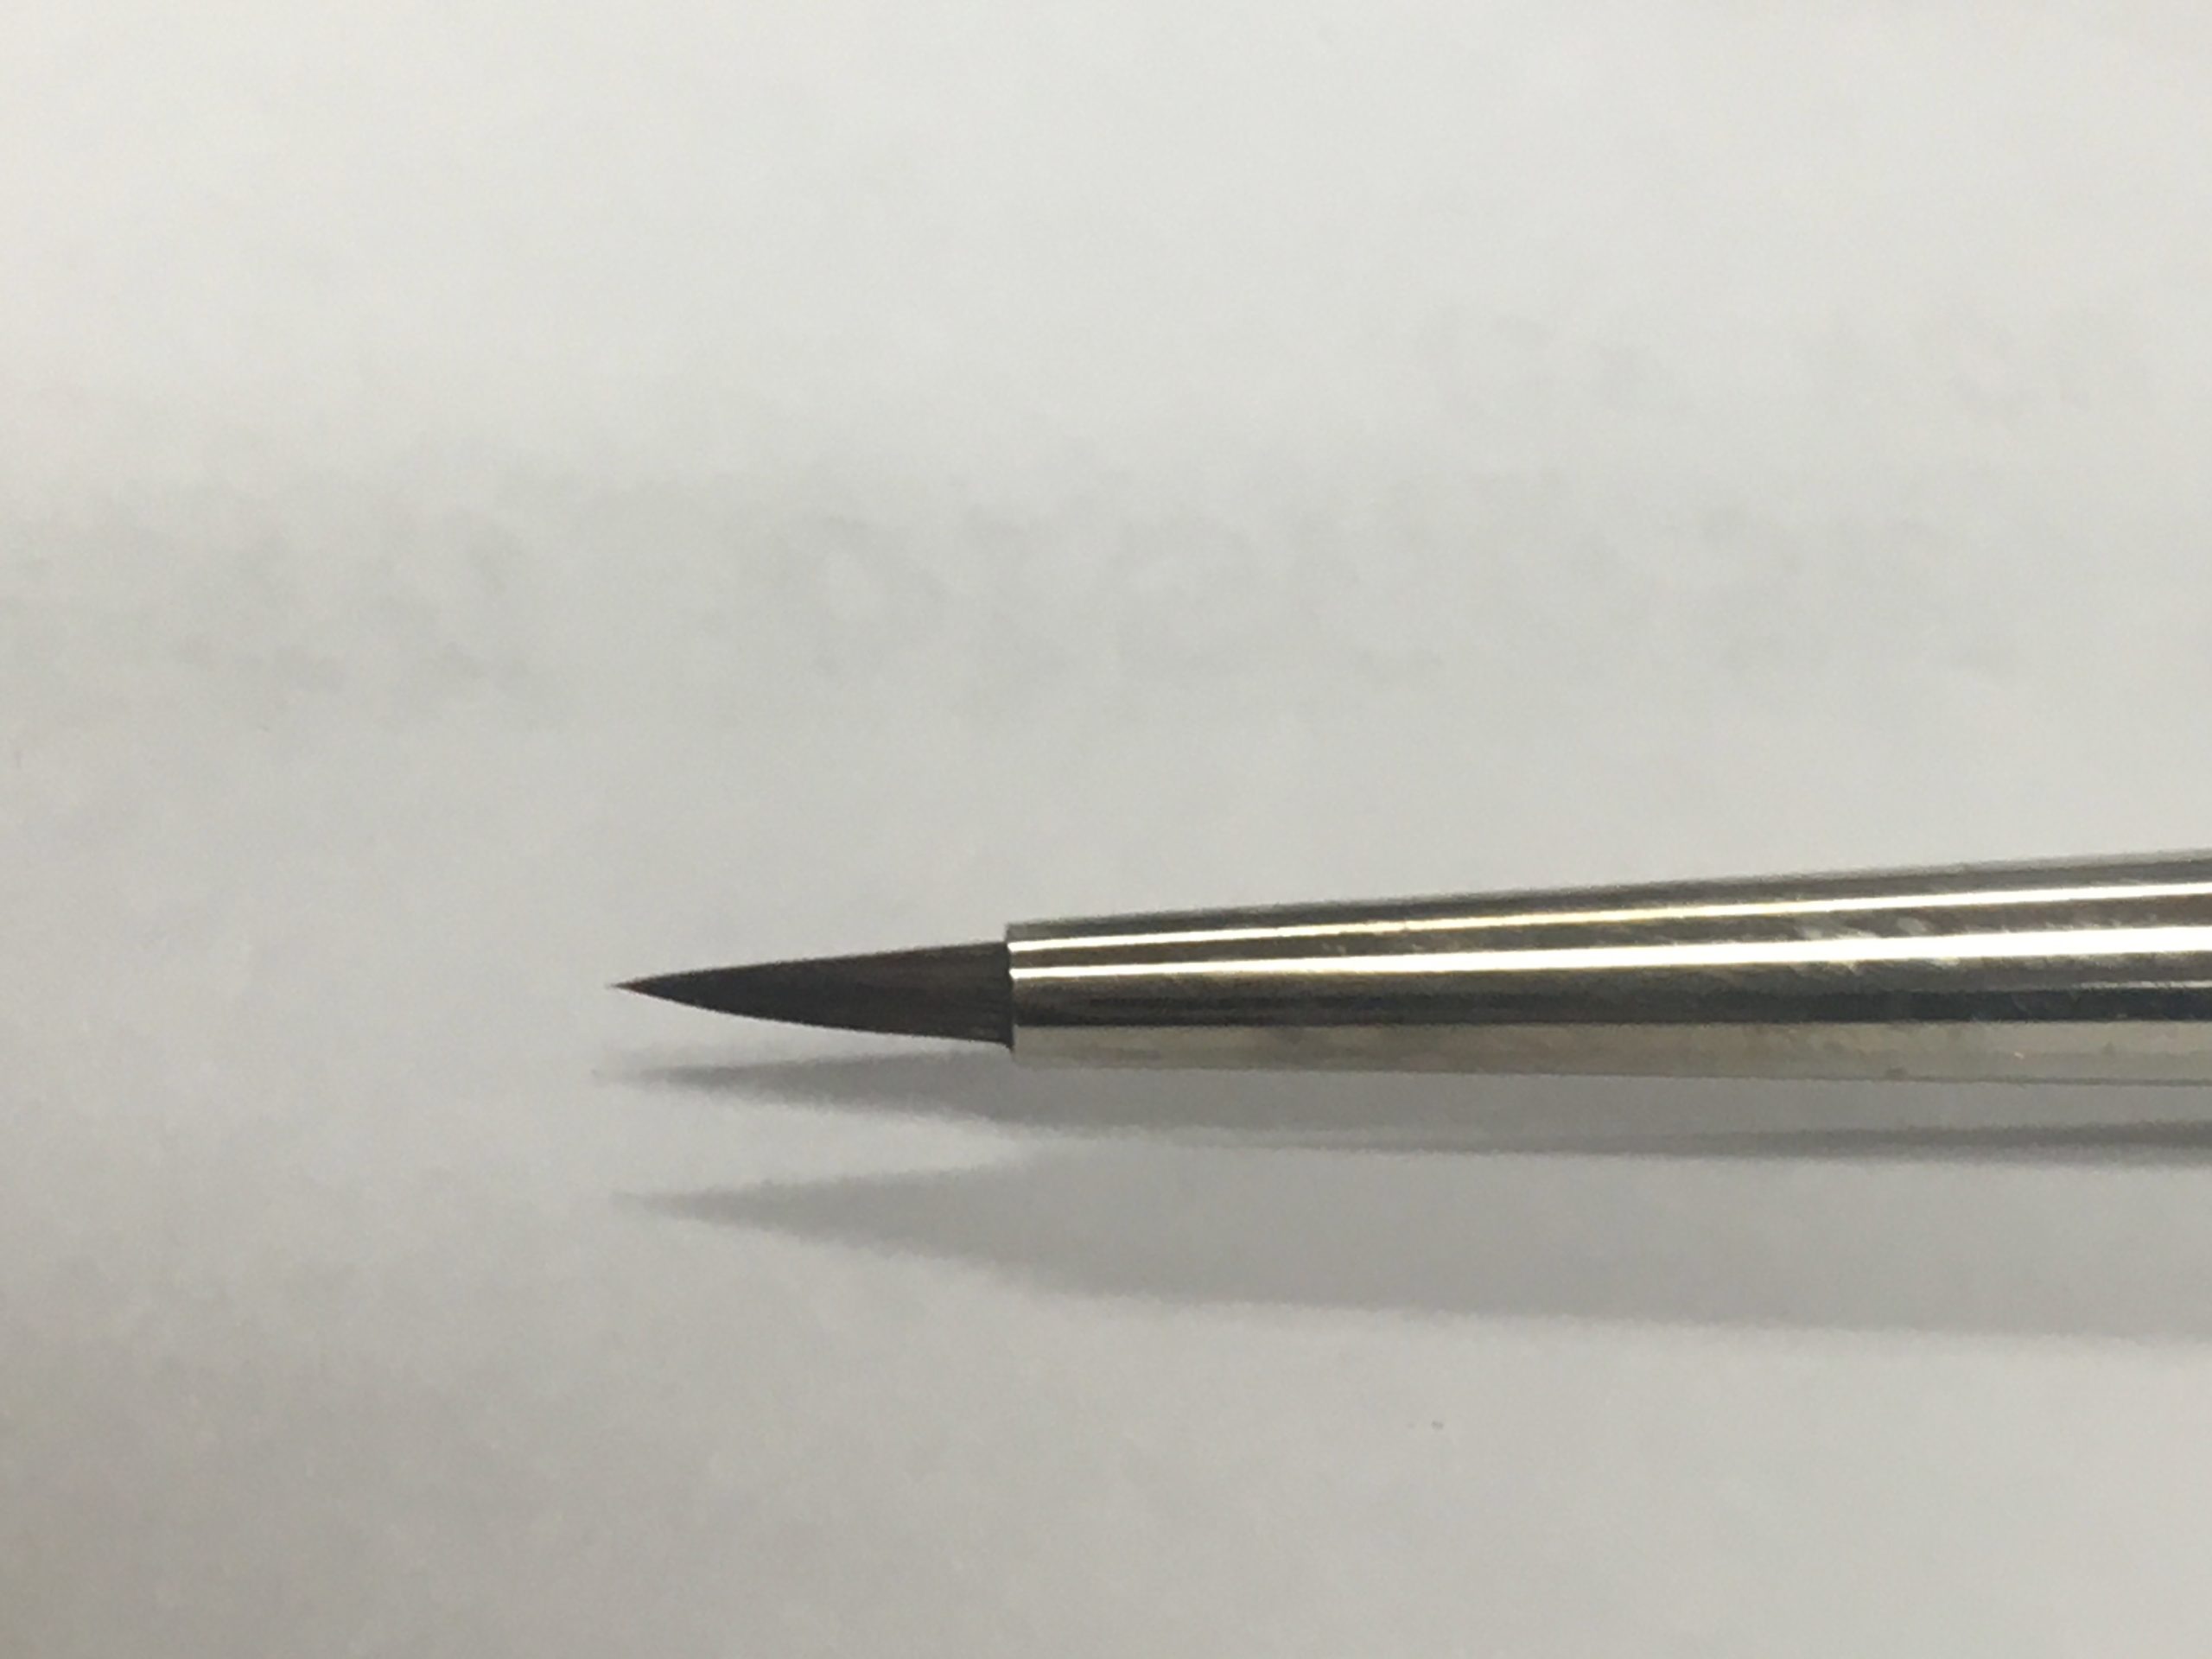
The first factor is your brush. For eyes, you will want to use a brush with a chisel tip. Notice, I did not say the tiniest brush in existence or other implements such as a toothpick. You want to use something which the paint will stay wet long enough to make it from your pallet to your mini. Often times the tiniest brushes and toothpicks dry out way too fast. Using a good sable brush will give you the time to relax and breath and get the paint onto the mini where you want it to go. I have also heard there are painters who have success with using really fine tipped markers or pens. I have not personally tried this method though, but it is just how I personally like to work. If it works for you, then you are not wrong.
The second factor is how you hold your hands. I will cover this a bit more in next month’s post, but I find I need to keep my hands in contact with either other most of the time by touching the heels of my hands together as I work. By working this way, if my hands shake, they shake at the same rate. I also find having them touch helps to stabilize them to prevent them from shaking in the first place. For good measure I do rest my arms against the table as well.
The final factor is practice, practice and more practice. While these steps certainly make it much easier to paint eyes, it will still take practice to perfect it. If you practice enough, you may even get to the point where you can add the ring of color around the black portion. In my experience though, most hero sized eyes are just too small to have that ring show up to the naked eye.
With these simple steps, painting the eyes hopefully will no longer seem as scary or as mysterious. Give it a shot and let me know in the comments or by contacting me on social media how it went.
So now your eyes are painted, where do we go next? That’s right, we will finally get to base coating your mini in the next installment, “Put on your (Base)coat!”.
Have any questions about this article or any topics you would like to see in the future? Please comment below.
You can also email me at [email protected] or DM me on Facebook via “The Muse’s Touch Miniature Painting” page or on Twitter @muses_touch.