This is a multi-part series which will cover the basics of miniature painting from the materials to techniques to finishing.
So you’ve decided to take up painting small plastic or metal heroes or villains of the realm? Excellent! Welcome to one of the greatest and arguably most supportive communities around. I’ll bet you just can’t wait to pick up a brush and a miniature and start applying paint to it.
But wait! Where do you even begin? Why, with a shopping trip of course. You need brushes and a mini and paints and….uh….um…..er….what do I need again?
Fret no more. Allow me to guide you as to what you will need to launch your mini painting hobby.
I have two lists. The first is for those of you who are not one hundred percent sure you wish to commit to mini painting. Mini painting is not the cheapest hobby to undertake. You may wish to figure out if you are even going to enjoy it, before dropping the money to buy all the tools necessary to get the most out of the hobby. If you have never painted before, I advise this route. You may find out that you just don’t have enough time or patience (as you do need both).
The Beginner Tool List:
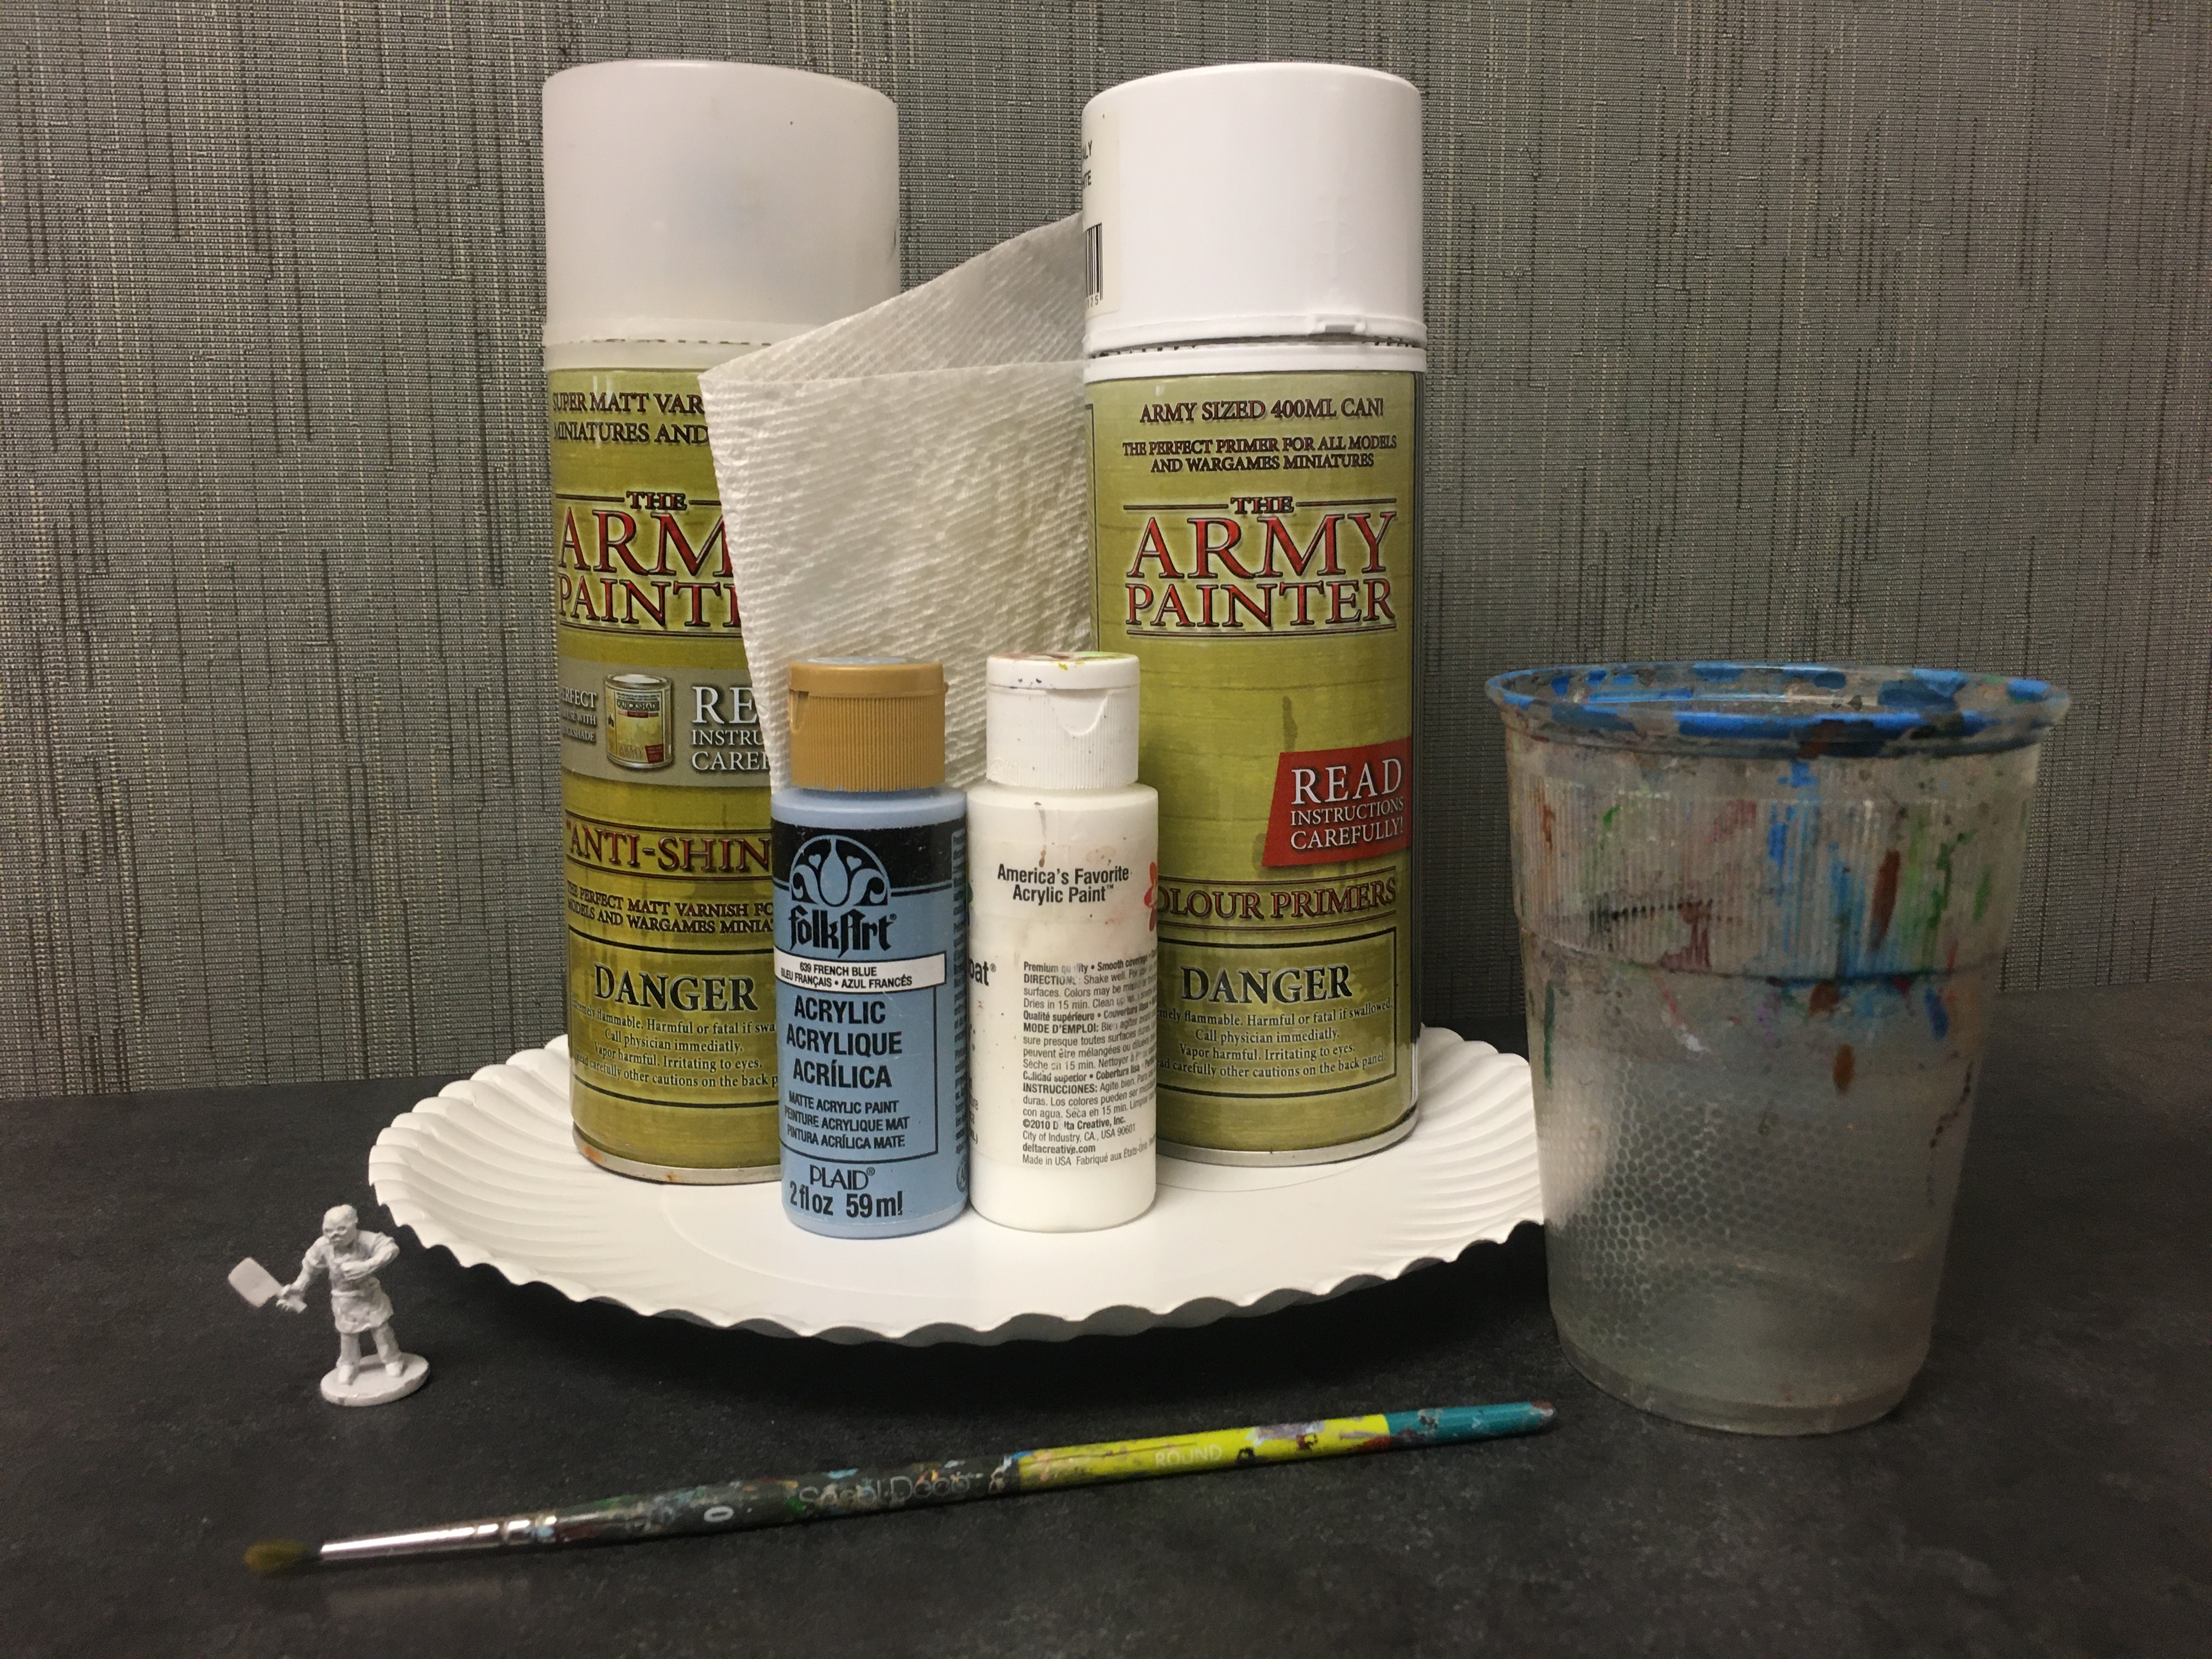
1) Inexpensive paint brushes with a good tip, size 0. These can be found at your local craft or hobby stores.
2) Paper plates to use as a pallet. Not only inexpensive, but clean up is a breeze. Pick these up when you’re out getting groceries or at a dollar store.
3) Paper towels. These are used for dry brushing and removing excess water after you clean your brush. These can be found at the same types of places the paper plates are found.
4) Plastic cup for water. These can be found at the same types of places the paper plates are found as well.
5) A miniature you wish to paint. For your first time I suggest you paint a cheap miniature. I do realize it is very tempting to pull out that awesome $30 Hero Forge creation, but, if you end up hating it, you will have done so on your one of a kind and costly mini. Unpainted miniatures can be found, to a degree, at your FLGS, but the internet is a much larger source for them, as each company who manufactures them, usually have an on line store.
6) A can of White, Black or Grey Acrylic Primer. Keep in mind, Black will hide any spots you may miss in the recesses of the mini, while white or grey is better for painting a lot of bright and light colors over. Use your judgment. This primer does not have to be a gaming brand, as those tend to be more expensive. A good old can of Rust-O-leum or Krylon from the local hardware, hobby, or craft store will work fine.
One other note here. If you are working with Reaper Bones material, I do not recommend using a primer. Yes, I realize there is a war going on over social media about this topic, but most primers like the ones I mentioned, will leave your miniature tacky to the touch. (I will go over prepping miniatures in the next post, which will be about prepping your mini.)
7) Matte Sealer. Much like the primer, you do not have to use a product from a gaming company. The only rules is that it is matte and acrylic. These can be found right next to the primers at the nearest craft, hobby, or hardware store.
8) Various cheap acrylic paints. While the ones specifically made for painting miniatures are formulated to work better, there really is nothing inherently wrong with the more inexpensive craft store paint. It is advised to thin them before use so they will flow better. The fact is, I use those for my black and white due to the quantities I use of them. I also will resort to them when I am working on a very large miniature, such as Ma’al Drakar (otherwise known as Tiamat). My recommended brands are Delta Ceramcoat, Folk Art and Apple Barrel. I do not recommend Michaels Craftsmart. It does not have nearly enough pigmentation to it and does not cover very well. These can be found in craft and hobby stores.
That’s all you need to start getting a feel for painting minis. Should you fall in love with painting small people and monsters and decide you are in it for the long haul, you may want to step up your supplies. Use the below list for that. Please note that this may not be a complete list, but it is what works for me. You may find other objects to add to it which work for you.
Advanced Tool List:
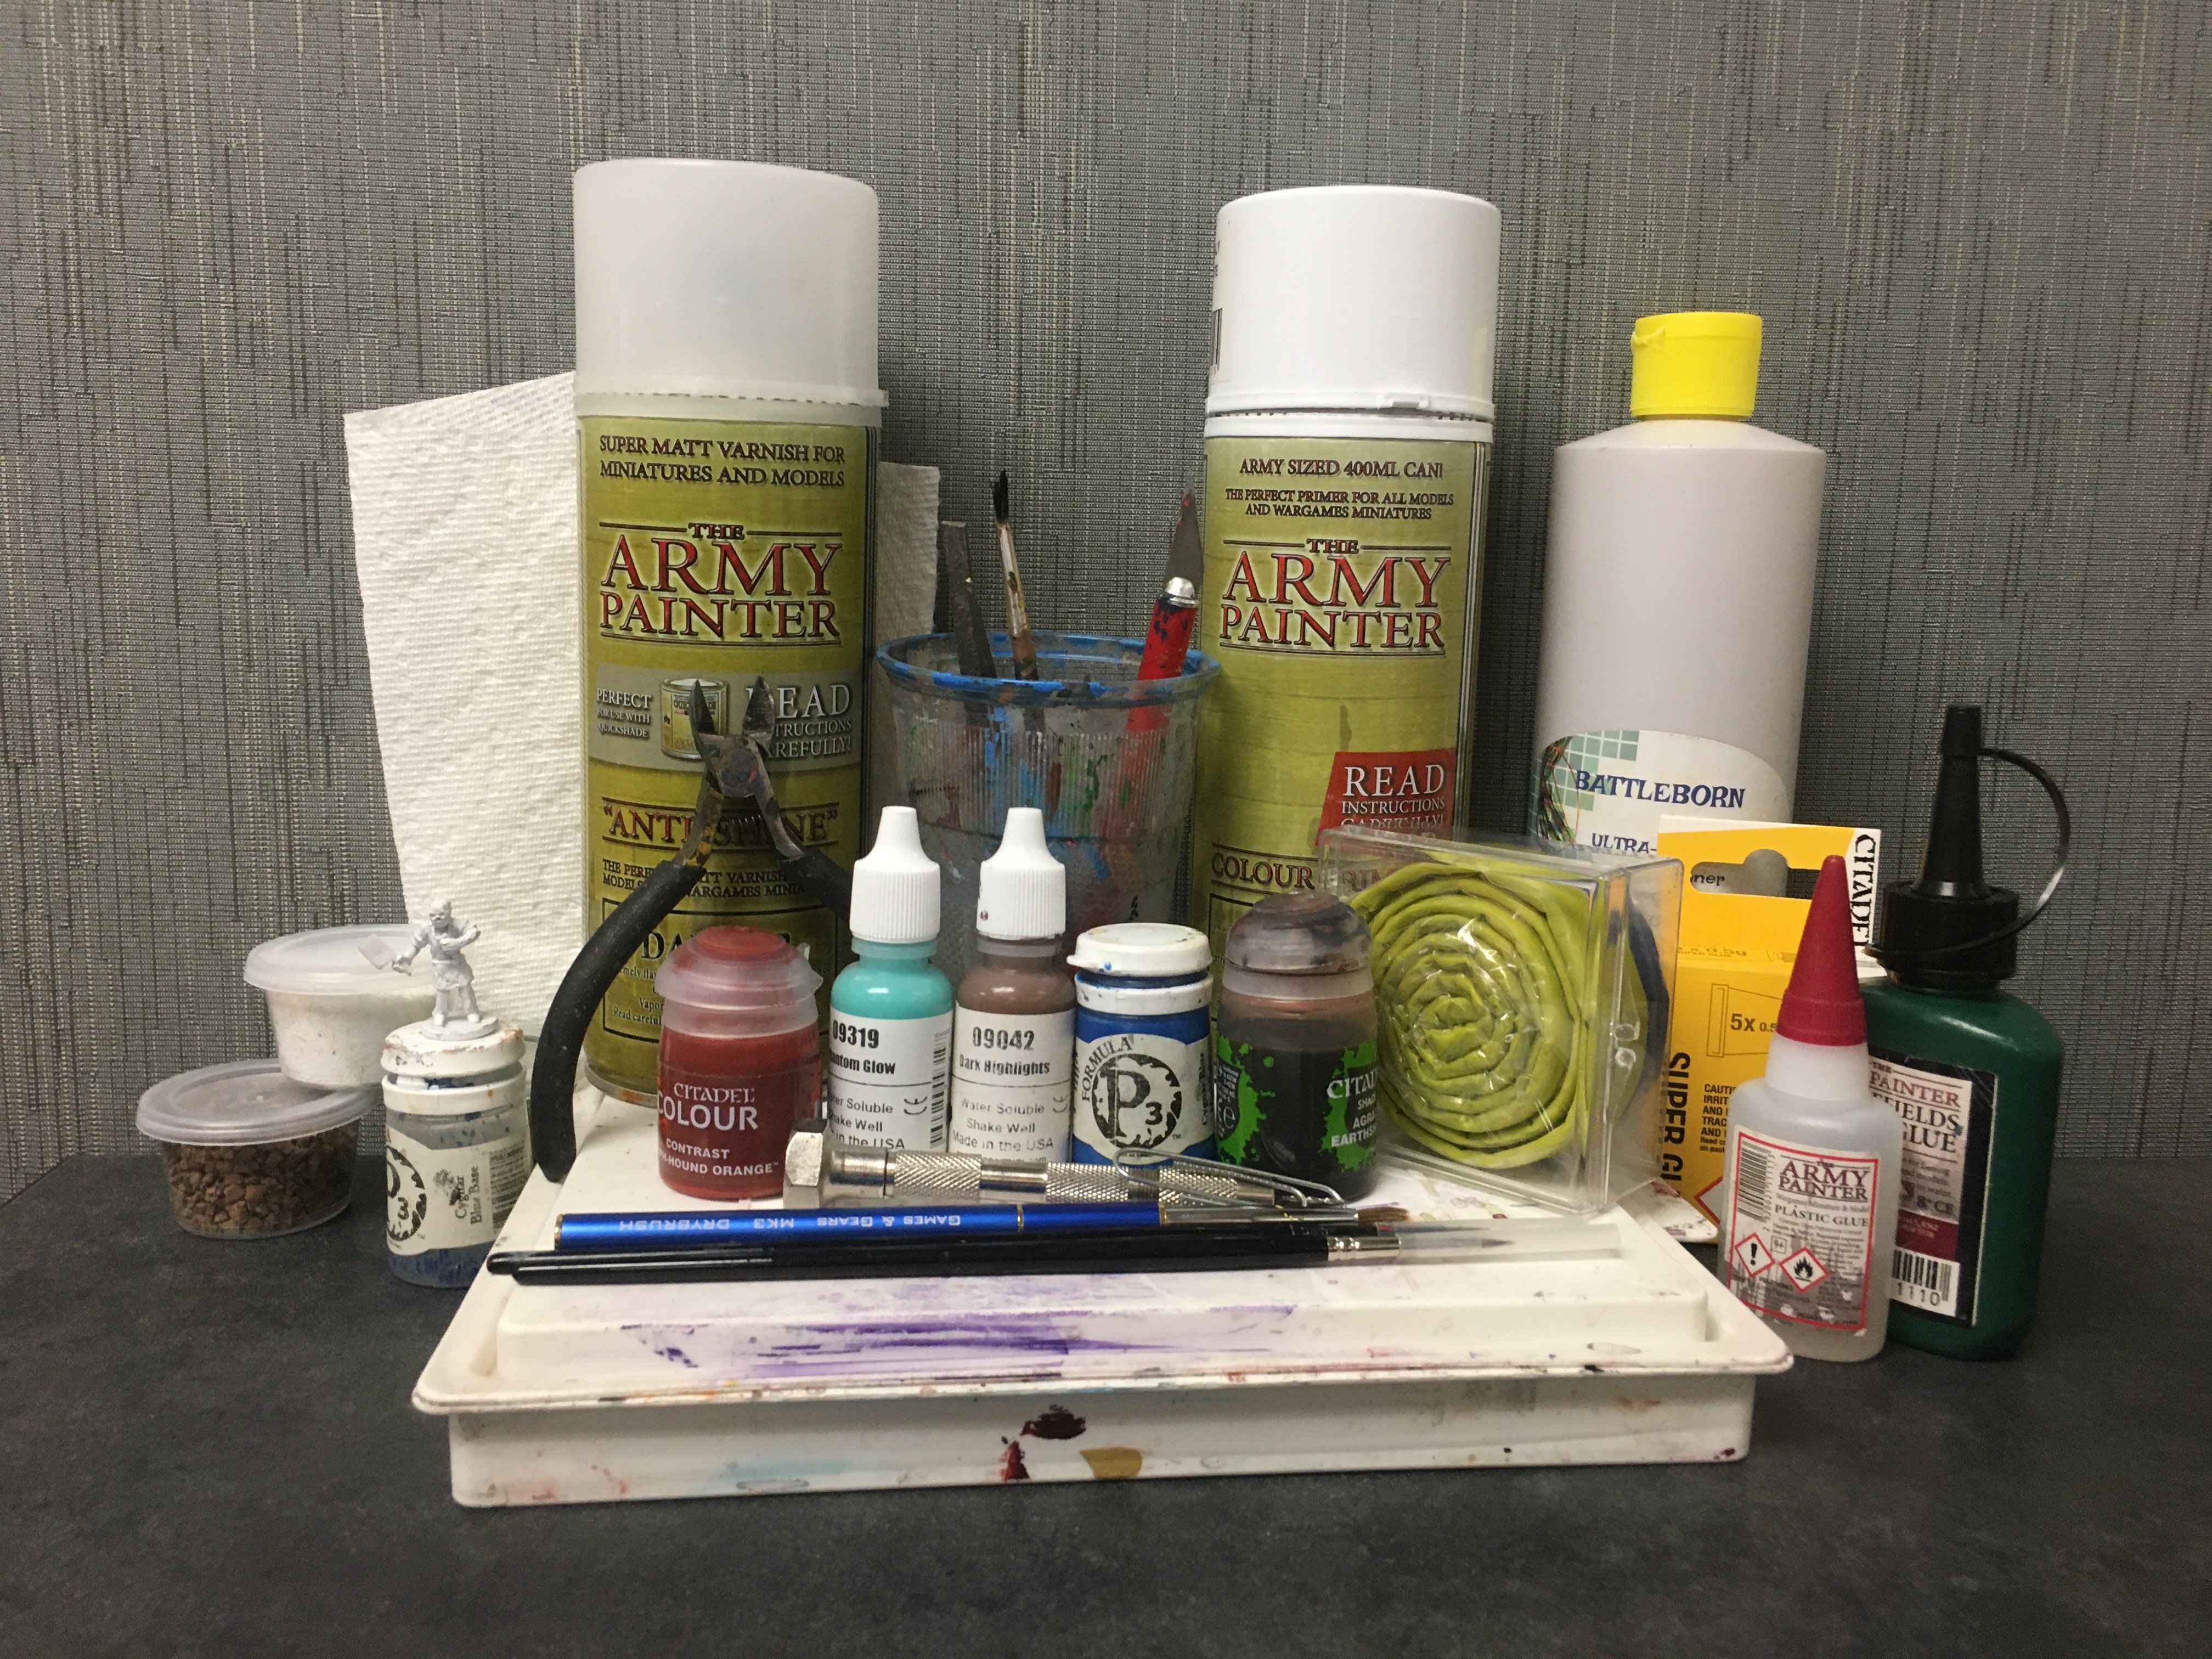
1) Good brushes. While there are painters out there who use nothing but cheap brushes that hold a point for a short time, those brushes do not tend to last and they discard them constantly. I have found you do get what you pay for and a brush which costs $2.00 does not last nearly as long as one which costs $15. Windsor Newton Series 7 (note, not the ones branded as miniature brushes) are my personal go to brushes as they hold a point for a very long time. There are other great brands out there such as Da Vinci Maestro, Artis Opus, and Rosemary and Co. While I can find these on a rare occasion at a game, hobby or art store, you may have better luck online at an art supply place such as Dick Blick.
The best size is whatever works best for you, however keep in mind smaller is not necessarily better. You want enough brush to hold enough paint so it does not dry out between the time the paint leaves the pallet and arrives at the mini. For me, I use a size 0. I know artists who will even go as large as a 3 or 4. For smaller details, I have a 000 which is sufficient for things like painting eyes. You also may want to get some larger brushes if you wish to delve into painting larger models. I personally do not spend a ton on larger brushes, as it is not as important to have a chisel point on them when you are painting a foot tall dragon.
2) Dry Brush. For this use only a cheap quality brush, preferably with fairly stiff bristles, an old brush that no longer cuts it for anything else ,or buy one made for the job. I have a couple of Games and Gears dry brushes which, last a while as long as you properly care for them. Do not ever use your main brush to dry brush with as dry brushing destroys brushes. The cheap quality version can be found at craft or hobby stores. Like the fine brushes, you may have better luck looking for a good quality one online.
3) A cheap brush. This will be used exclusively for getting paint out of paint pots and mixing. Once again, do not use your expensive mini brushes for this unless you only use the handle. If you get paint in the ferrule (the metal part the bristles all go into), it will ruin the brush by coating the bristles at their base so they will separate and it is almost impossible to clean it out once it gets in there. I have found for me, a brush is the most efficient way to transfer paint out of a pot into your pallet, as it will hold a good quantity of paint in the bristles. Definitely just pick one up at the nearest craft or hobby store.
4) A Pallet. There are many choices out there of pallets. I am planning on discussing those more in depth in the future. I use a wet pallet, but either a ceramic or plastic pot pallet works well too. Wet pallets can not only be
5) Paper Towels.
6) Water Cup.
7) The miniature (of course!)
8) Hobby Files and other such sanding tools. Hobby Files are excellent for getting mold lines off of metal minis. For softer materials, such as plastic or resin, you can also use an emery board.
9) Small wire clippers. They are also excellent for cutting through metal, flashing, or sprues.
10) X-Acto Knife. Great for cutting through plastic, and removing mold lines (if using a file is taking too long) or cutting away large areas of flashing.
11) Super Glue. The type you get depends on the material you are working with. Plastics like plastic glue that slightly melt the plastic for a better bond. A good gel based superglue is what I prefer. It cuts down on the mess. I find the thin glues run all over the place and do not like to stay put.
12) A Pin Vise and pins. I use paper clips for pins, but there are other small metal rods made for pinning which, will do the trick as well.
13) Modeling Putty. Green stuff, Milliput, grey stuff all work well when you have large areas to fill, or to attach a mini to a slotted base, as the green stuff will fill in any areas the model does not fill, or to do any basic sculpting you wish to do to add things to your model, like rocks.
14) Old Toothbrush. Good for cleaning a mini of any release agents or oils and such which, can affect the way the primer and paint will adhere to the mini. Also a good tool to use if trying to strip paint off a mini to repaint it.
15) Acrylic Primer. Use either the rattle can versions I mentioned above, or for a bit more expense, resort to the paint-on variety. The spray cans are great for quickly getting a model primed and I will use them when I have a bunch of pieces I’m working on, but paint on primer is handy as it’s likely you will get primer in the deepest recesses of the mini where a can will miss, and it doesn’t require ventilation to use like a spray can does, so you can prime anywhere.
16) A painting handle. If you are like most miniature painters in the world, you will want to attach something to the base of your miniature to hold on to while you paint your mini so you will not rub off paint on any completed areas. This could be anything from an old paint pot, a cork stopper, pill bottle, or one of those plastic boxes dice come in. Anything you are comfortable with holding can be used. Of course, there are some handles you can buy made specifically for this purpose. Games Workshop has a pretty good one. It even has clips to hold parts in place while you are gluing them together.
17) Miniature Paints. While there is nothing wrong with using the vastly more inexpensive craft store paints, the paints made for painting models are better. They tend to be thinner. They also have more pigmentation for better and smoother coverage. At a later date, plan on having a post about the various brands and the pros and cons of each.
18) Water mixed with flow improver or a drying retardant. Key for smoother application and blending. Keep this in a dropper bottle for better control of the amount you will use.
19) Basing Materials. Pre-made terrain, sand from the beach, tiny pebbles, twigs are just a few examples of things which can be used. This list is only limited by your imagination and ingenuity.
20) Either PVC basing glue or basic white glue. The white glue should be thinned down with a bit of warm water.
21) Matte Acrylic Sealer and optionally a gloss sealer. While matte is the sealer of choice for most models, a gloss sealer can be used to great effect when you want some shiny areas to come through.
So these are the tools I have found instrumental when it comes to painting miniatures for my use, but it is hardly a complete list. As with most things in miniature painting, everyone is different and you may find tools you like to use that are not on this list.
Coming next month: Part 2: Prepping to Paint Your Mini.
Have any questions about this article or any topics you would like to see in the future? Please comment below.
You can also find me at [email protected] or DM me on Facebook via “The Muse’s Touch Miniature Painting” page or on Twitter @muses_touch.