This is a multi part series which will cover the basics of miniature painting from the materials to techniques to finishing.
You have run out and bought your supplies listed in Part 1 The Tools for Mini Painting Success! and now are raring to go! If you are just trying painting for the first time with a miniature that does not require priming, then go ahead and start base coating (which will be covered in a future post). While this month’s post is for those of you who decided that miniature painting is something you want to pursue and have invested in a set of tools mentioned in the advanced tool list and want to take the extra time to properly prepare your miniature for painting, it should be handy for all who are even considering jumping into the hobby to get an idea of what is required while prepping to get the most out of your miniature.
Keep in mind, if you are just painting something for your own table top and do not need a competition quality job, some of the steps, such as cleaning off faint mold lines, you likely can skip. My first rule of mini painting is, “Do what works for you.” If you find it works for you, then skip whatever steps or add some to this list.
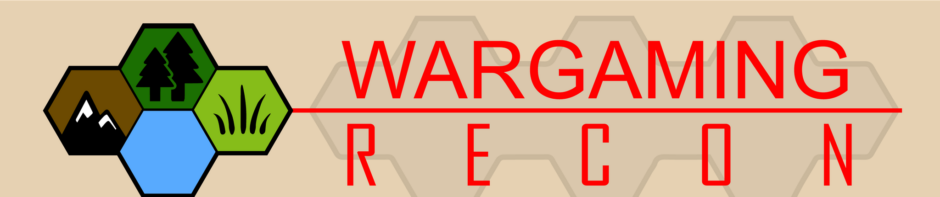
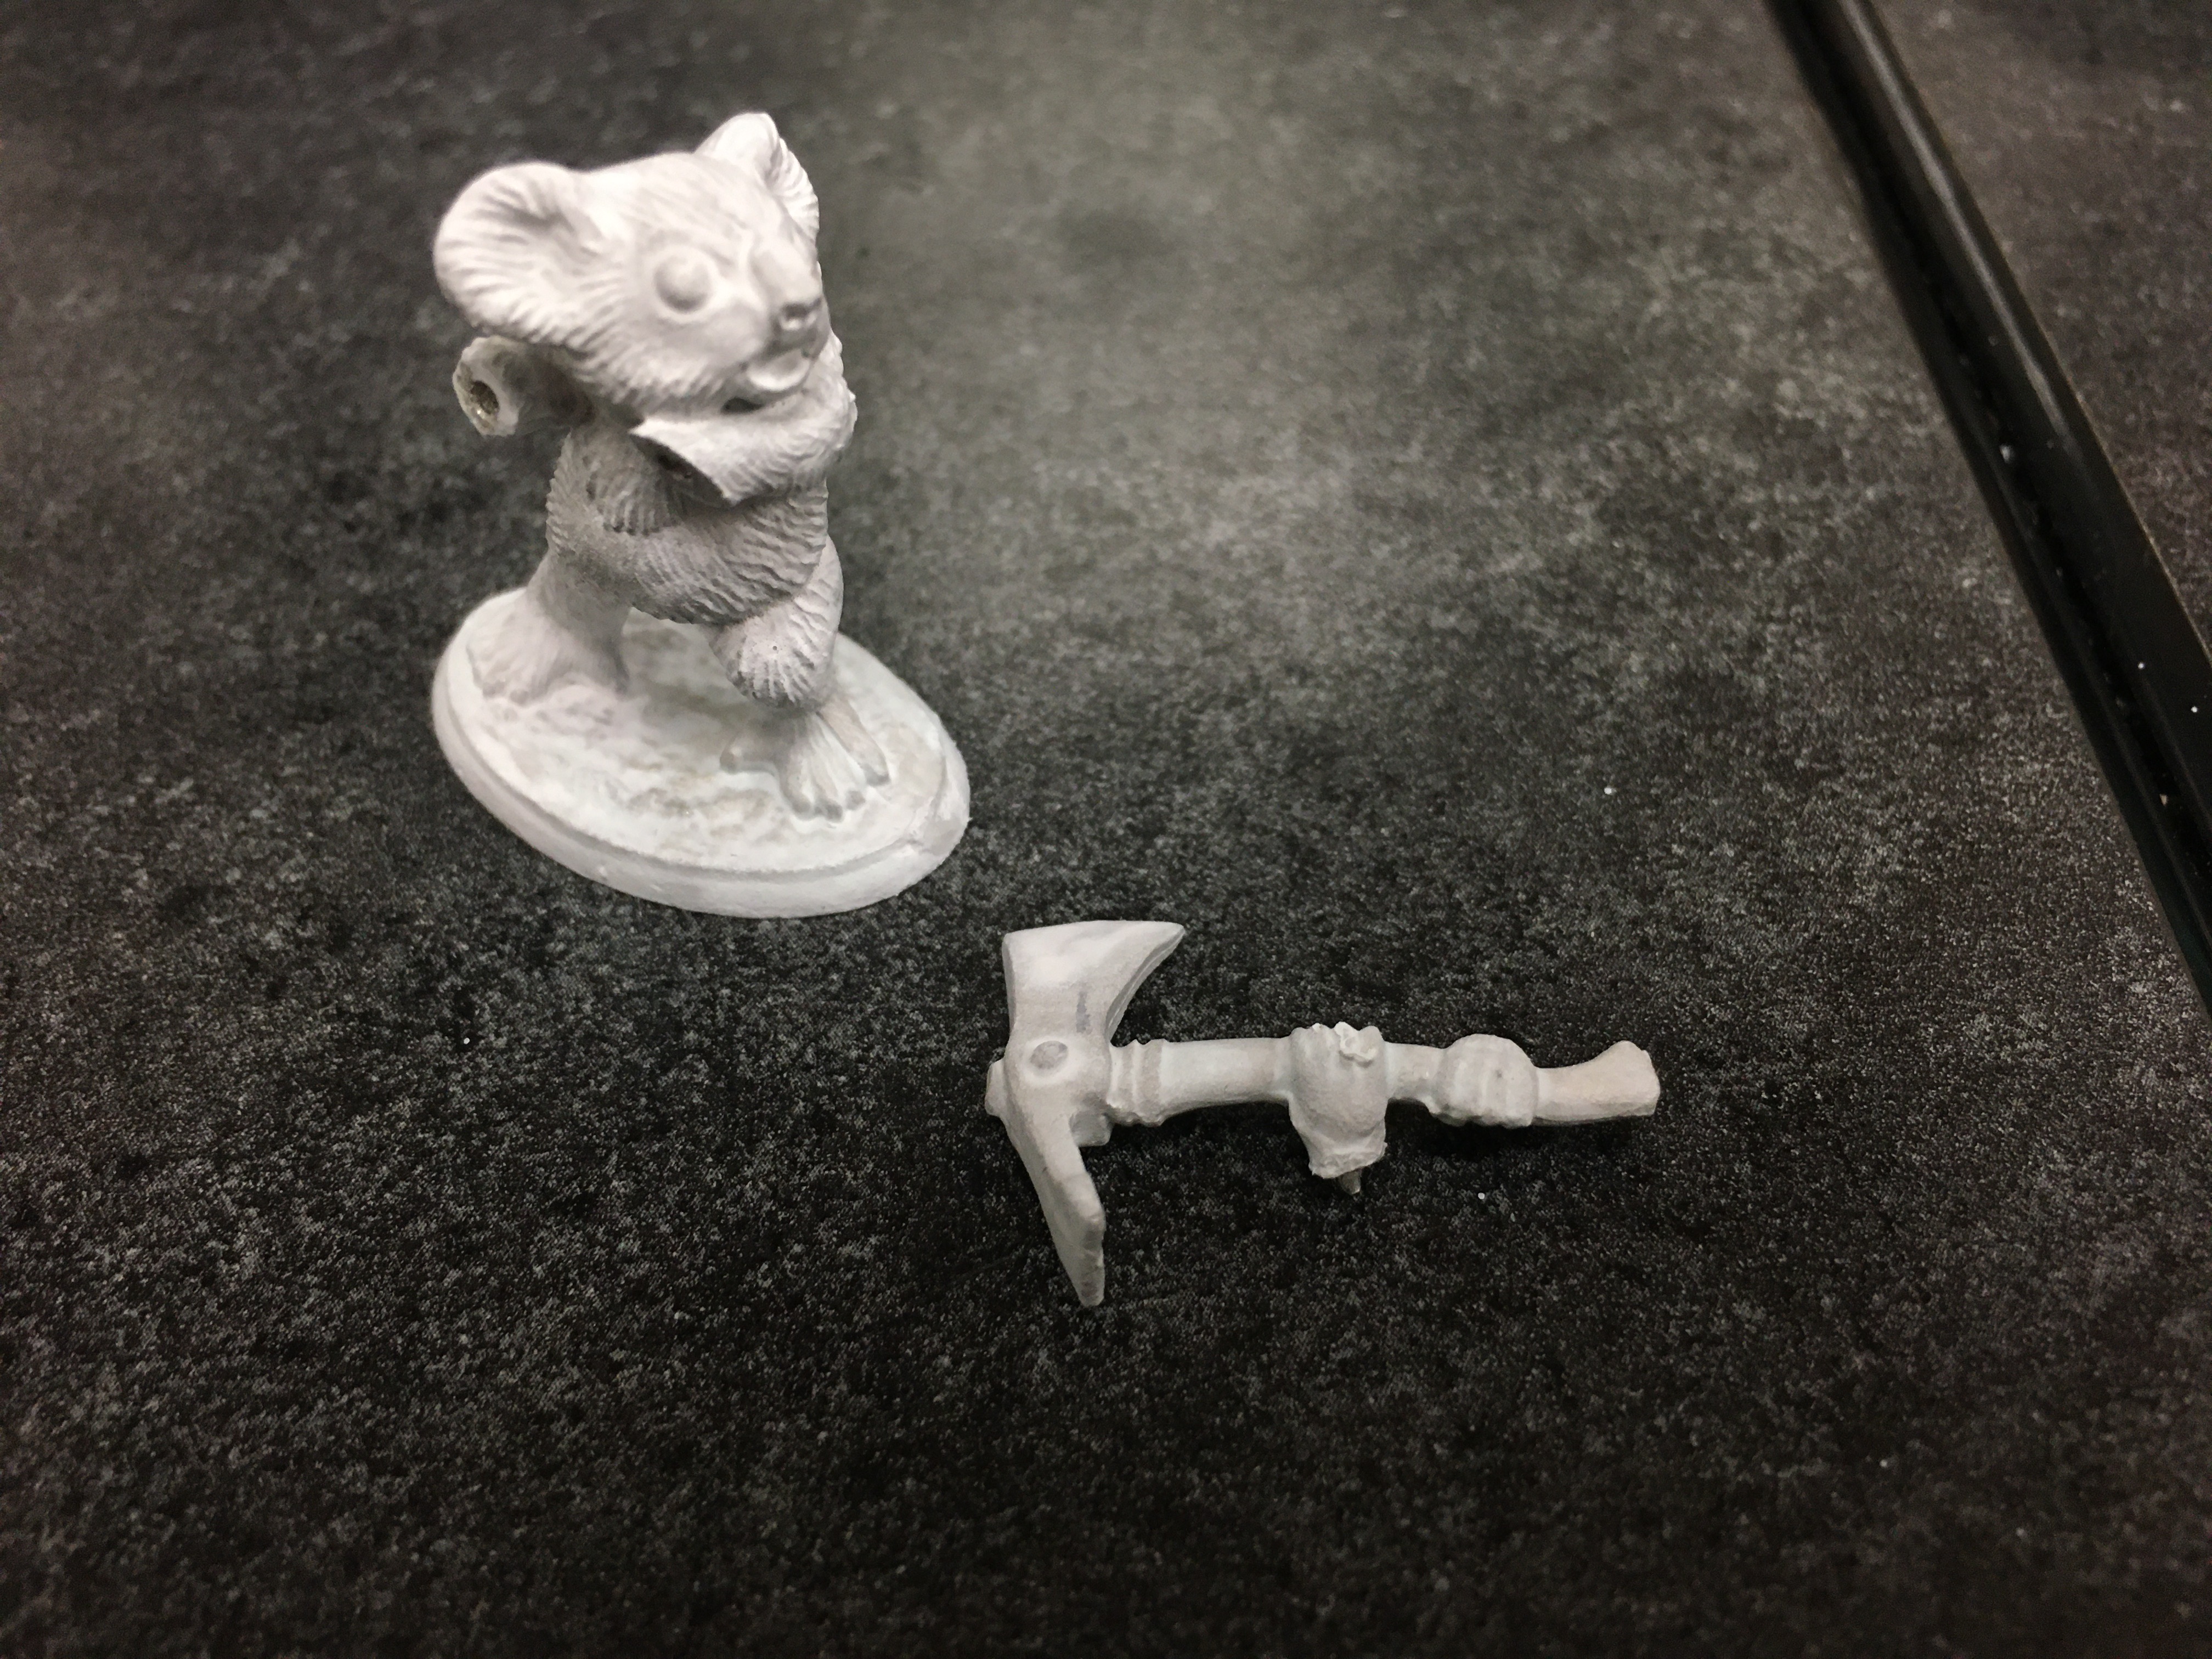
The miniatures used here are as follows: the metal mini is Reaper Miniatures 01647 Courage: Australian Relief Fund Mini and the resin (Bones Black material) one is Reaper Miniatures 44006, Garghuk, Ogre Chieftain. These two will be used for much of the tutorials I will be posting in the how to series.
Prepping your miniature.
1) Cut the components apart (if there are multiple parts). After taking it out of the box, cut away any parts that are on sprues. Dry fit the parts to ensure they are going to fit. There are times where I have discovered a hole might have to be enlarged or a part sanded down to fit together. Take note of any places that will be difficult to paint if you should join the parts together. Do not glue them together if this is the case, but paint them first, then assemble. If you can easily paint the assembled parts, then attach them before painting, as the more you handle the pieces after you paint them, the greater the chance you could chip the paint.
I will be leaving the axe off the Koala as it will make his chest inside of it difficult to paint.
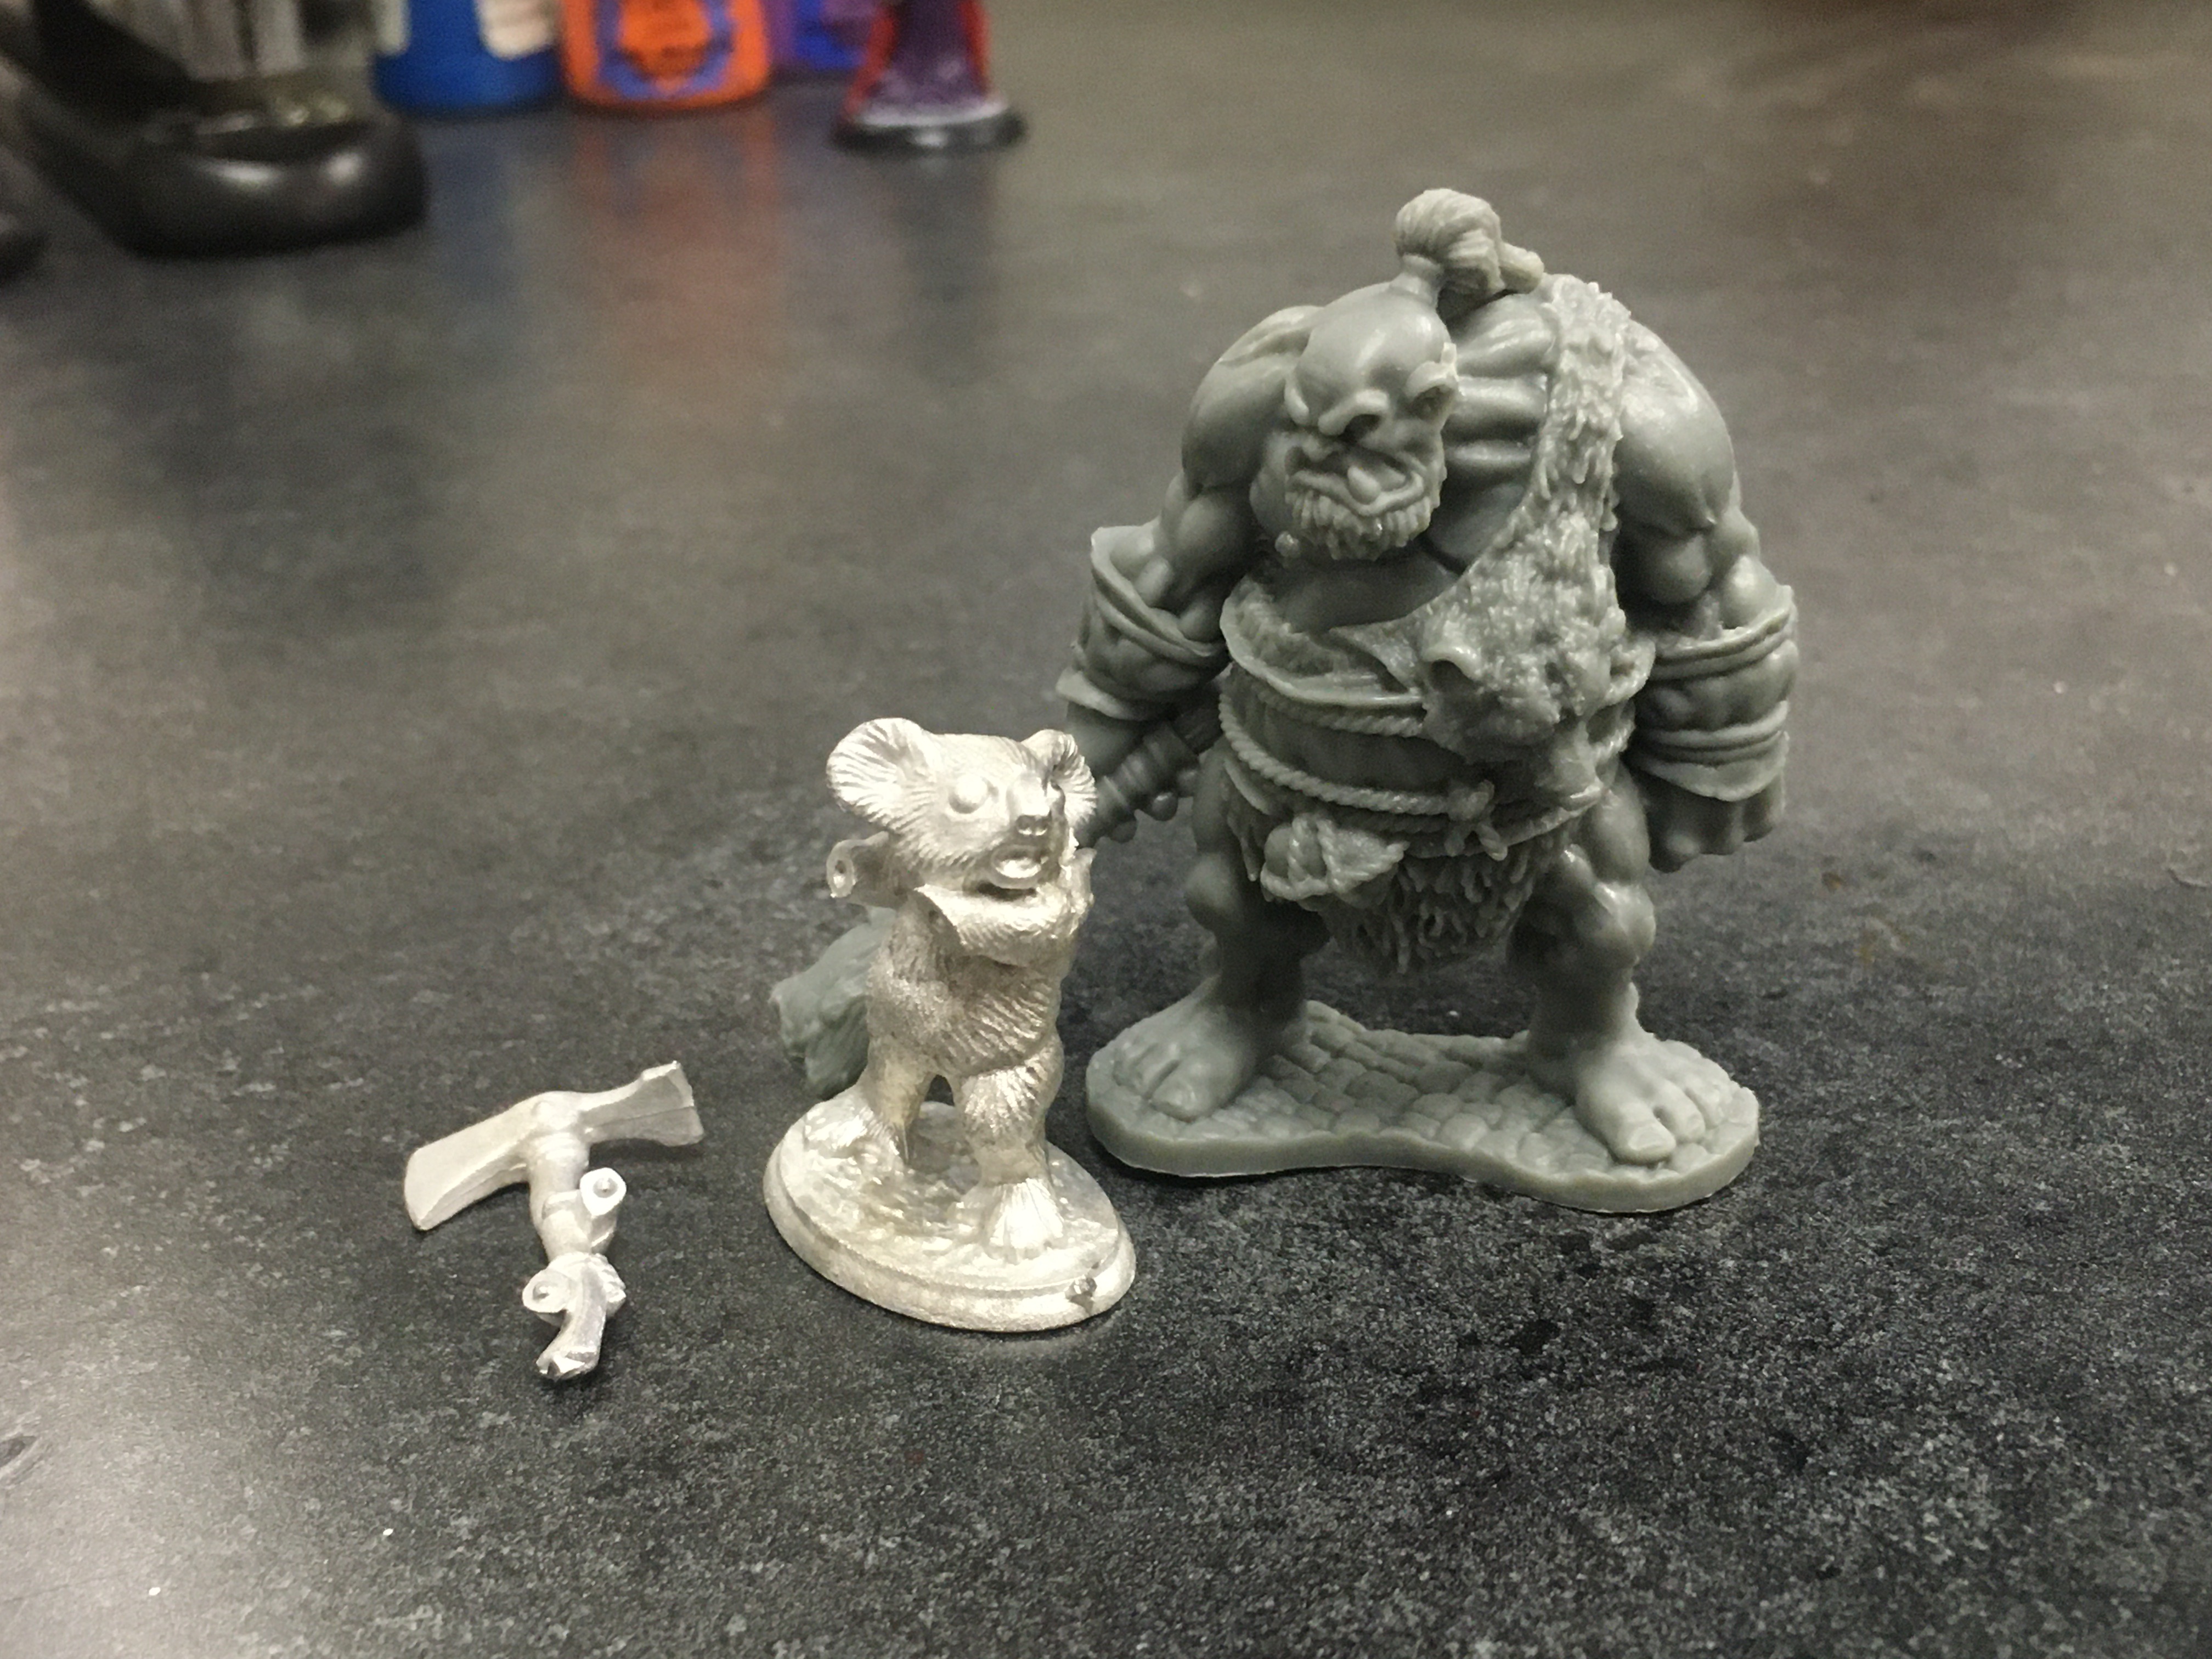
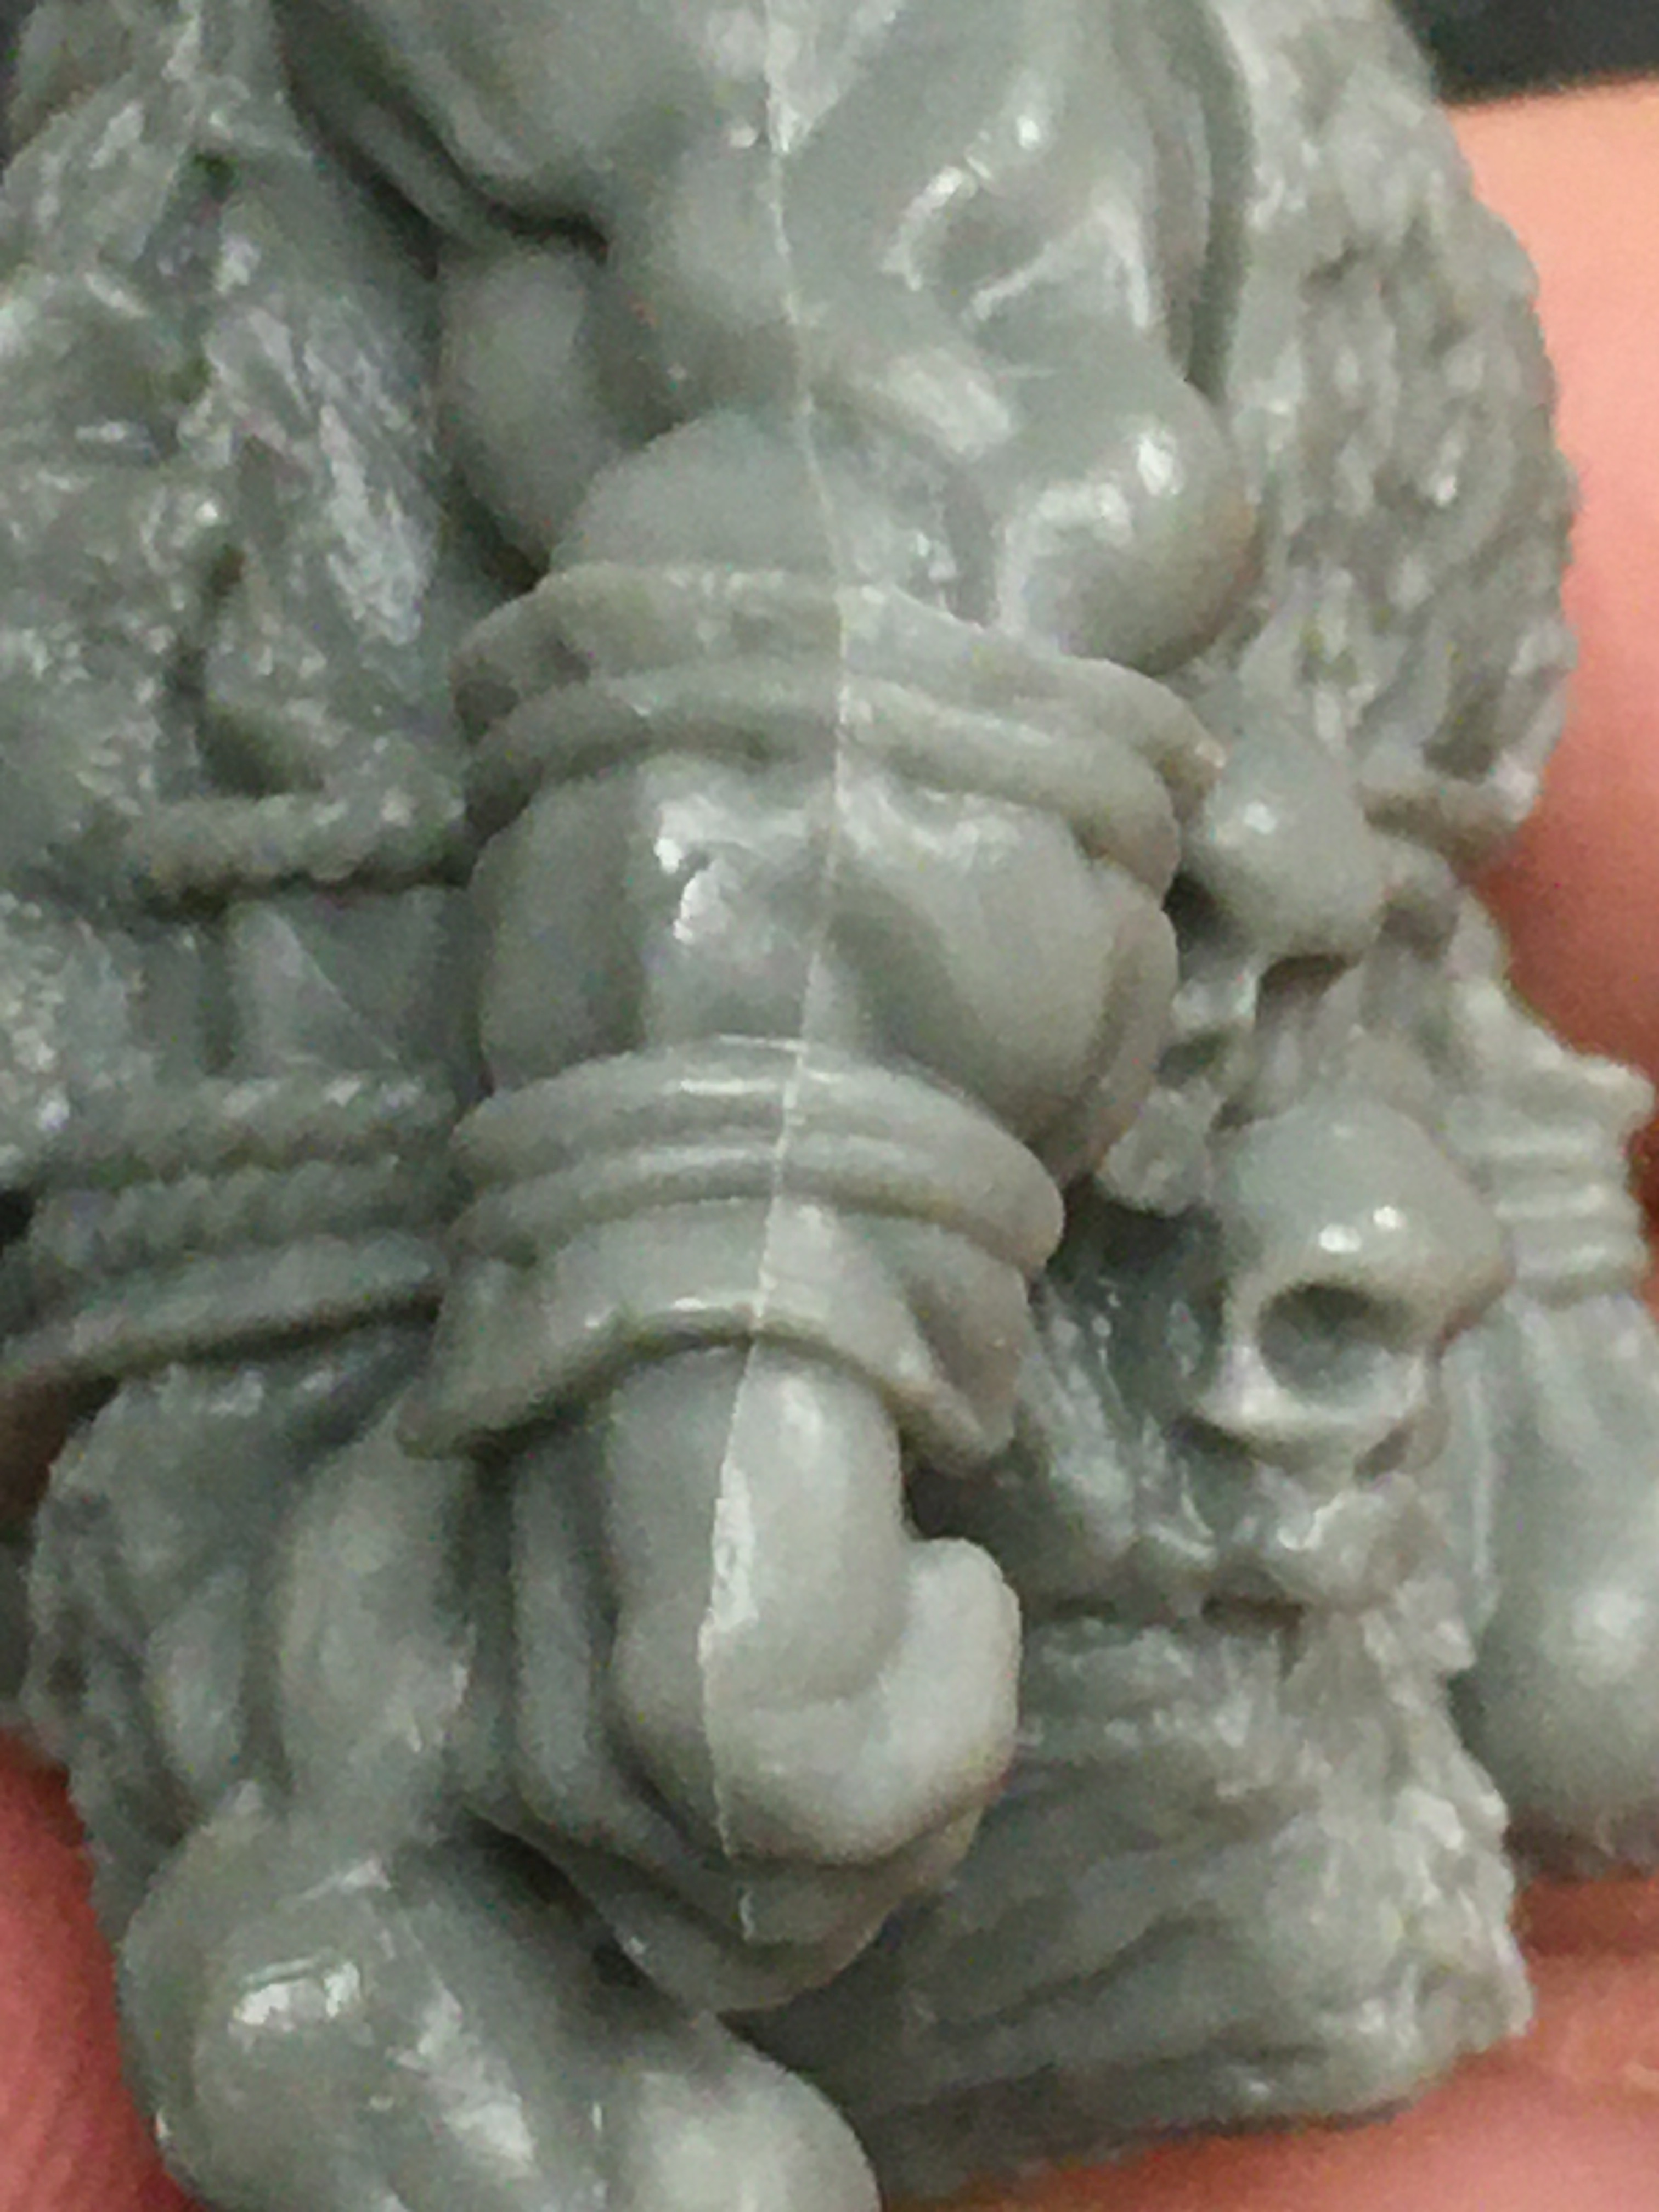
2) Dealing with the extra, but unwanted material. The next thing I do is to look over the miniature and try to find mold lines, flash, sprue remnants, or any other extra bits of metal or plastic which don’t belong like the bits of metal on the koala’s chin or that mold line running down the length of the ogre’s arm. You will want to remove all of that. When dealing with plastics or resins, you can use an X-acto knife, hobby files or even an emery board. Just be careful when using the knife that you do not cut into or gouge the mini. For metals, you will want to use metal clippers, wire cutters and metal hobby files. For thin areas of flash, you can even use an X-acto knife first, then smooth it completely down with a file.
Note that mold lines can be hard to see. You may wish to use a magnifier of some sort.
3) Clean your miniature. Once you are done with step 2, use some warm, soapy water and a toothbrush and clean your miniature to remove any mold release, which can hinder the paint’s ability to stick to the model and any dust left over when you took off the excess material.
4) Assemble the miniature. As mentioned in step 1, leave off any parts which will make the miniature hard to paint. That said, you should still take a few steps to prep those parts to join up. Whether or not you are attaching the parts now or later, you should take a sharp knife and score the areas being joined up. It will allow for a better bond between the two parts. If the areas to be joined are thin, you may wish to pin them together, as long as they are not too thin, where the part will be impossible to drill into.
Pinning is the process where you take your two pieces being joined together and drill a hole into each side and insert a pin (or a piece of metal such as a small section of a paper clip or a tiny brass rod) to hold them better together. At times, it is a necessity, as with the dwarven helicopter from Games Workshop, where the router blades were too heavy to stay attached to the center portion they were connected to. I was forced to pin it and it has held ever since.
How to pin your model.
1. Take one piece of the two you are joining together and use a pin vise to drill a hole into it. It does not have to be super deep, but deep enough to hold the pin in place.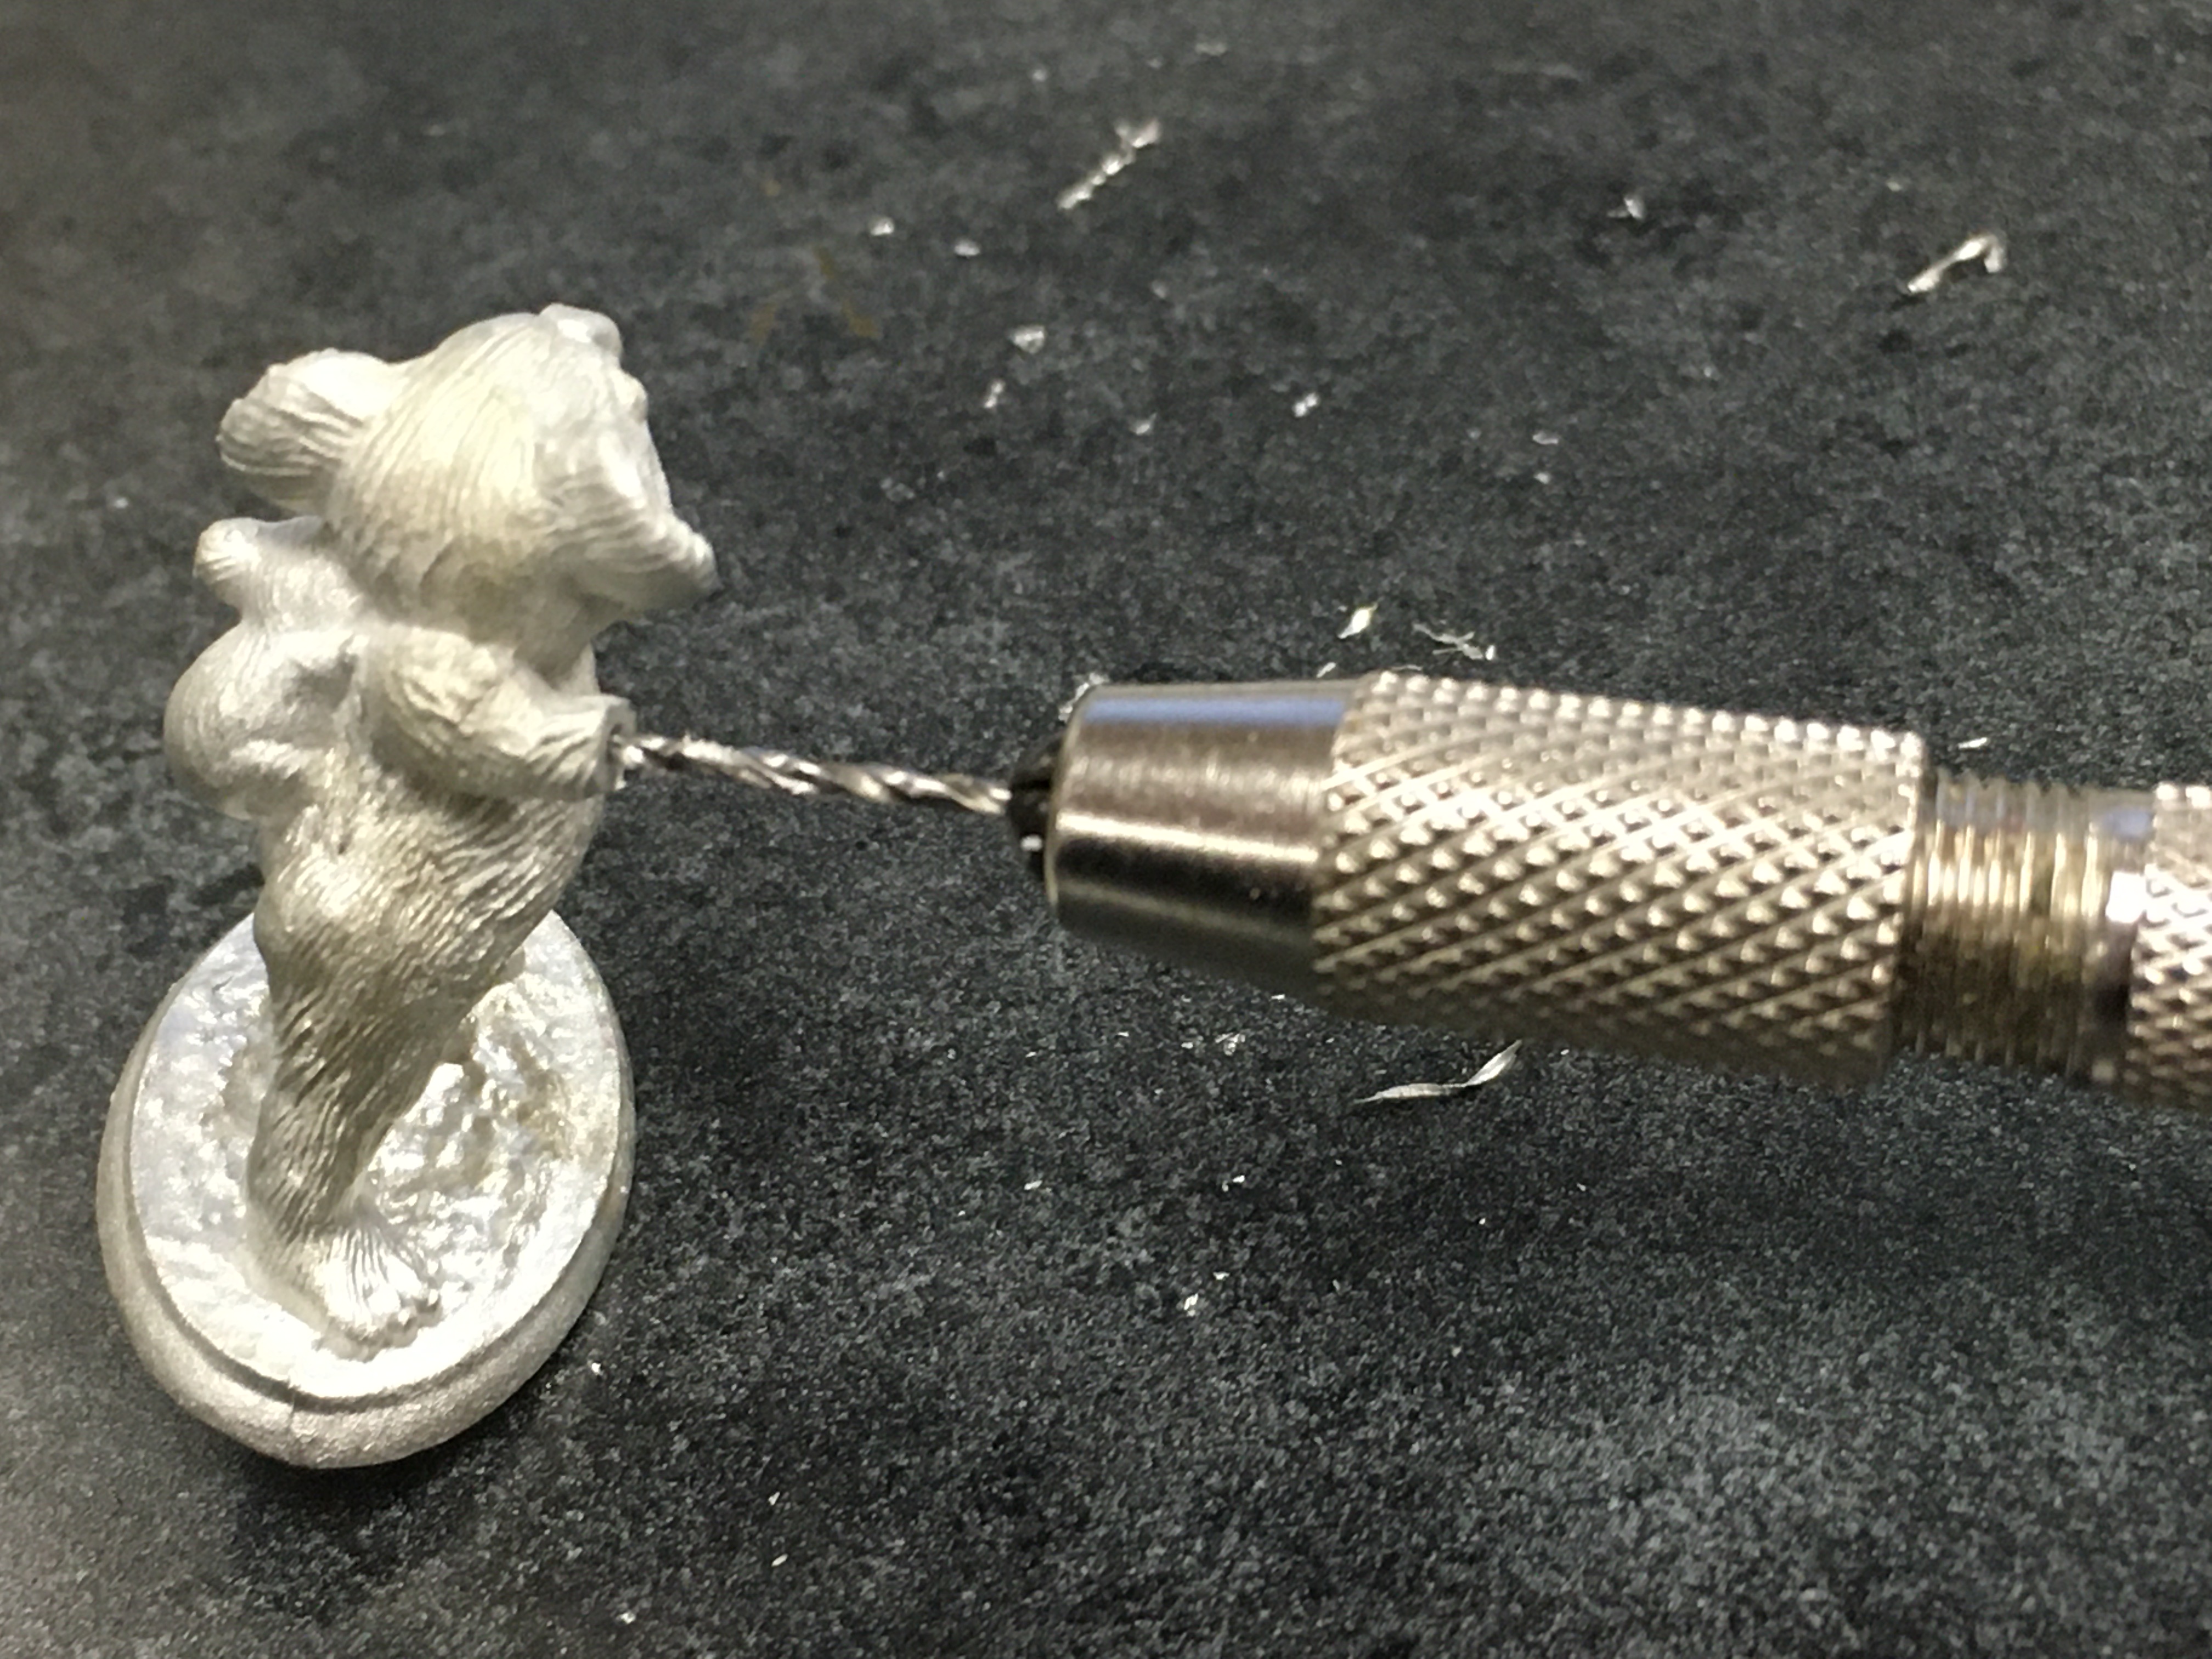
2. Take your pin, which can be anything made of metal resembling a paper clip section and about that size in diameter. Using super glue (not plastic glue, even if the model is plastic), glue it into the hole you drilled. You may want to leave the pin overly long for ease of handling. Let dry.
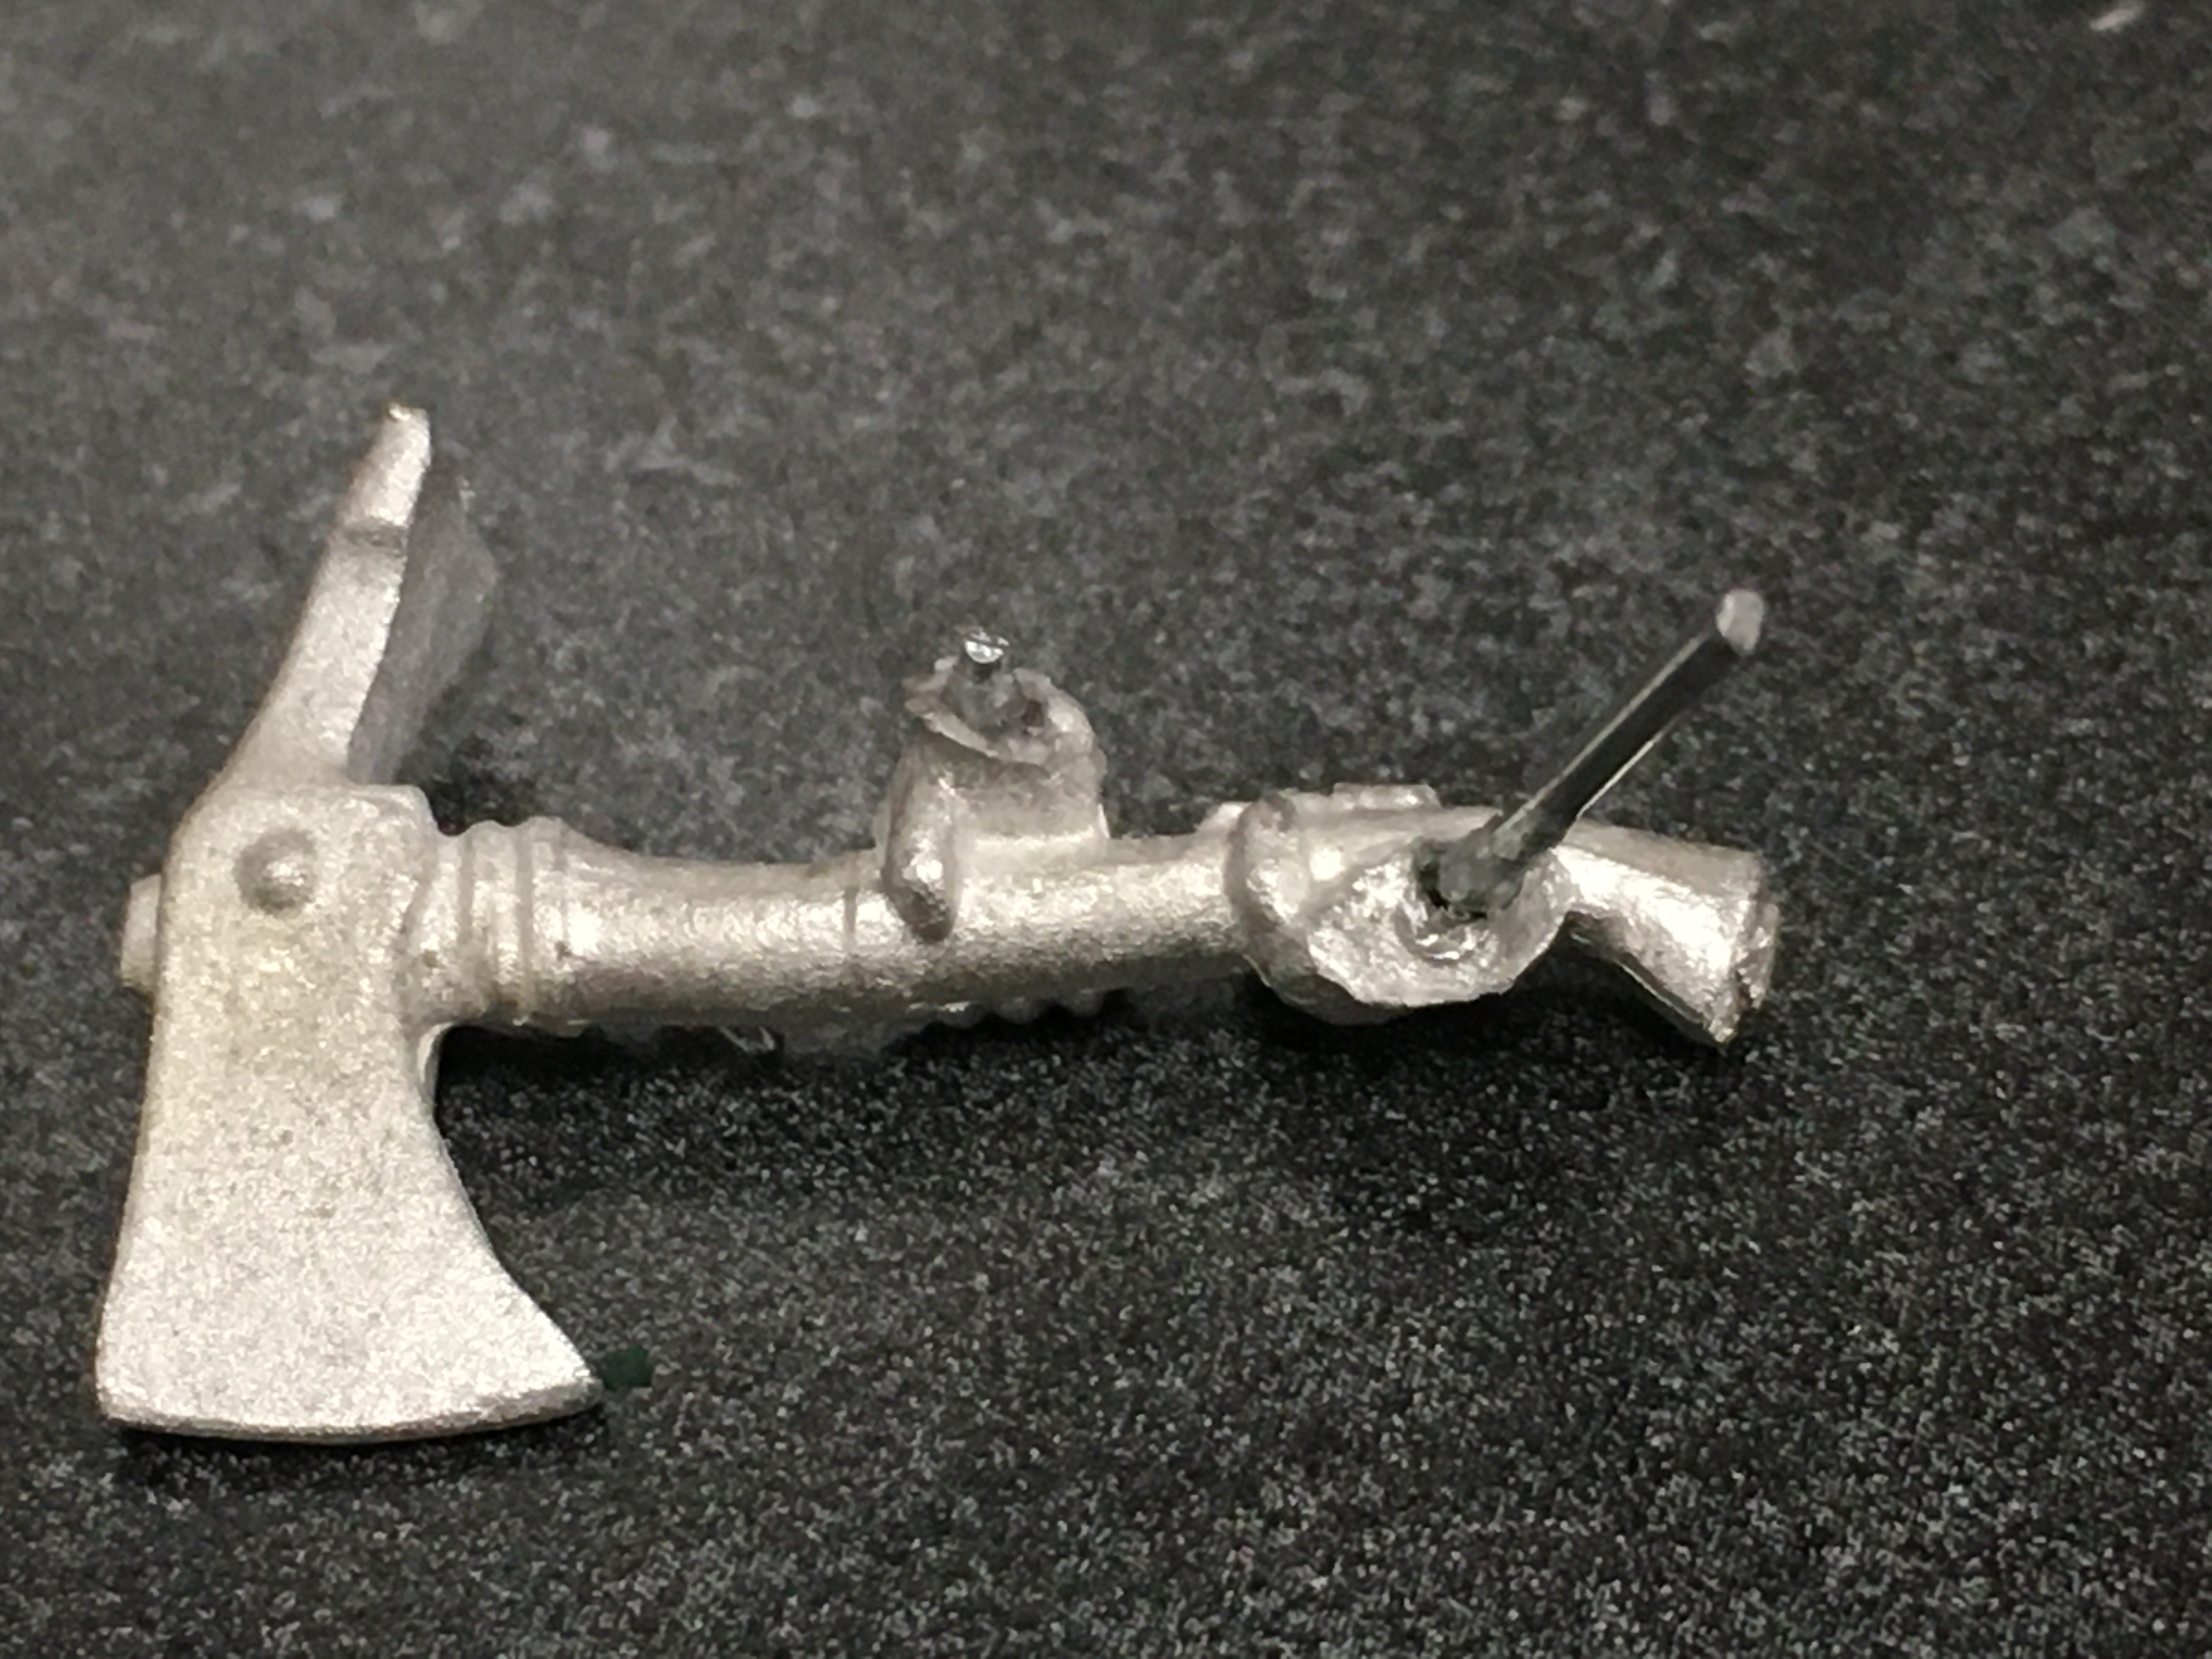
3. Using the Pin vise, drill a hole into the other piece you are joining to the first part.
4. When the first side is dry, carefully trim the pin so it will fit into the other hole. Make sure it fits. Glue the pieces together.
If you are not assembling the pieces at this moment, still drill the pin holes and have the pin inserted into one side and trimmed to fit the other if you wish. If you want to, you can leave the pins longer so you can hold them while you are painting, but I prefer to trim them down to make sure it all fits together.
5) Finishing work. Look for any gaps in the mini, either where the assembled pieces don’t fit exactly or even when the model was molded or assembled at the factory. Fill them with either Liquid Green Stuff, the putty form of green stuff, milliput, grey stuff, epoxy or anything else suitable. I will add, during this stage, you can also take any of the miniatures made of softer plastics or resins which can bend and add a think layer of super glue to them. If it ends up uneven, you can sand it down, but try to keep this layer of glue thin and even. It is easily painted when dry and will hold it’s shape.
6) Finally, we have gotten to the priming portion. Metal miniatures, some resins and plastics must be primed. The paint does not like to stick to those materials and will easily rub off. Some plastics and resins accept paint fine and do not need to be primed. You can always try and see how the material reacts by testing with a base coat. I have found that Hero Forge premium plastic seems to have no issues with the paint sticking to them and I have had no issues when I’ve painted them without a primer first. There’s no reason why you could not prime these and go for it if you like the results better.
I use primer in a rattle can, especially if it’s a large miniature with a million parts or a whole bunch of miniatures I am priming at once. You should be either outside or in a well ventilated space. You want to hold the can about 6 inches away. Do not point the spray directly on a miniature when you hit the button as it can go on too thick and hide the details. You want thin coats and you do not need a very thick base. Once you start the spray, move the can back and forth, across the surface of the miniature. I like the Army Painter brand, but there’s nothing wrong with using the acrylic primers you find in a hardware or craft store, which tend to be less expensive and work just as well. The other kind of primer is paint on primer. I use this when working on a small standard 28 mm hero, especially when it’s freezing cold outside in the middle of winter. I also find I can better get the primer into the cracks and crannies which rattle cans often miss.
But now, let’s deal with the rampaging elephant in the room: Bones Miniatures from Reaper. The fanbase has been fighting for years over whether or not one should prime these or not. I personally am in camp no primer. I have painted many, many Bones and never once had any issues with the paint sticking. Bones are hydrophobic which means if you have too much water content in your paint, the paint won’t stick. It behaves much like trying to use watercolor paints over crayon. So what does one do in this situation? I do a couple of different things. The first is I use a thicker, but not horribly thick base coat that still ends up smooth. The other solution is that I use Reaper Liners. I find the paint sticks on top of that coat. They are translucent and will also line the mini to make it easier to see.
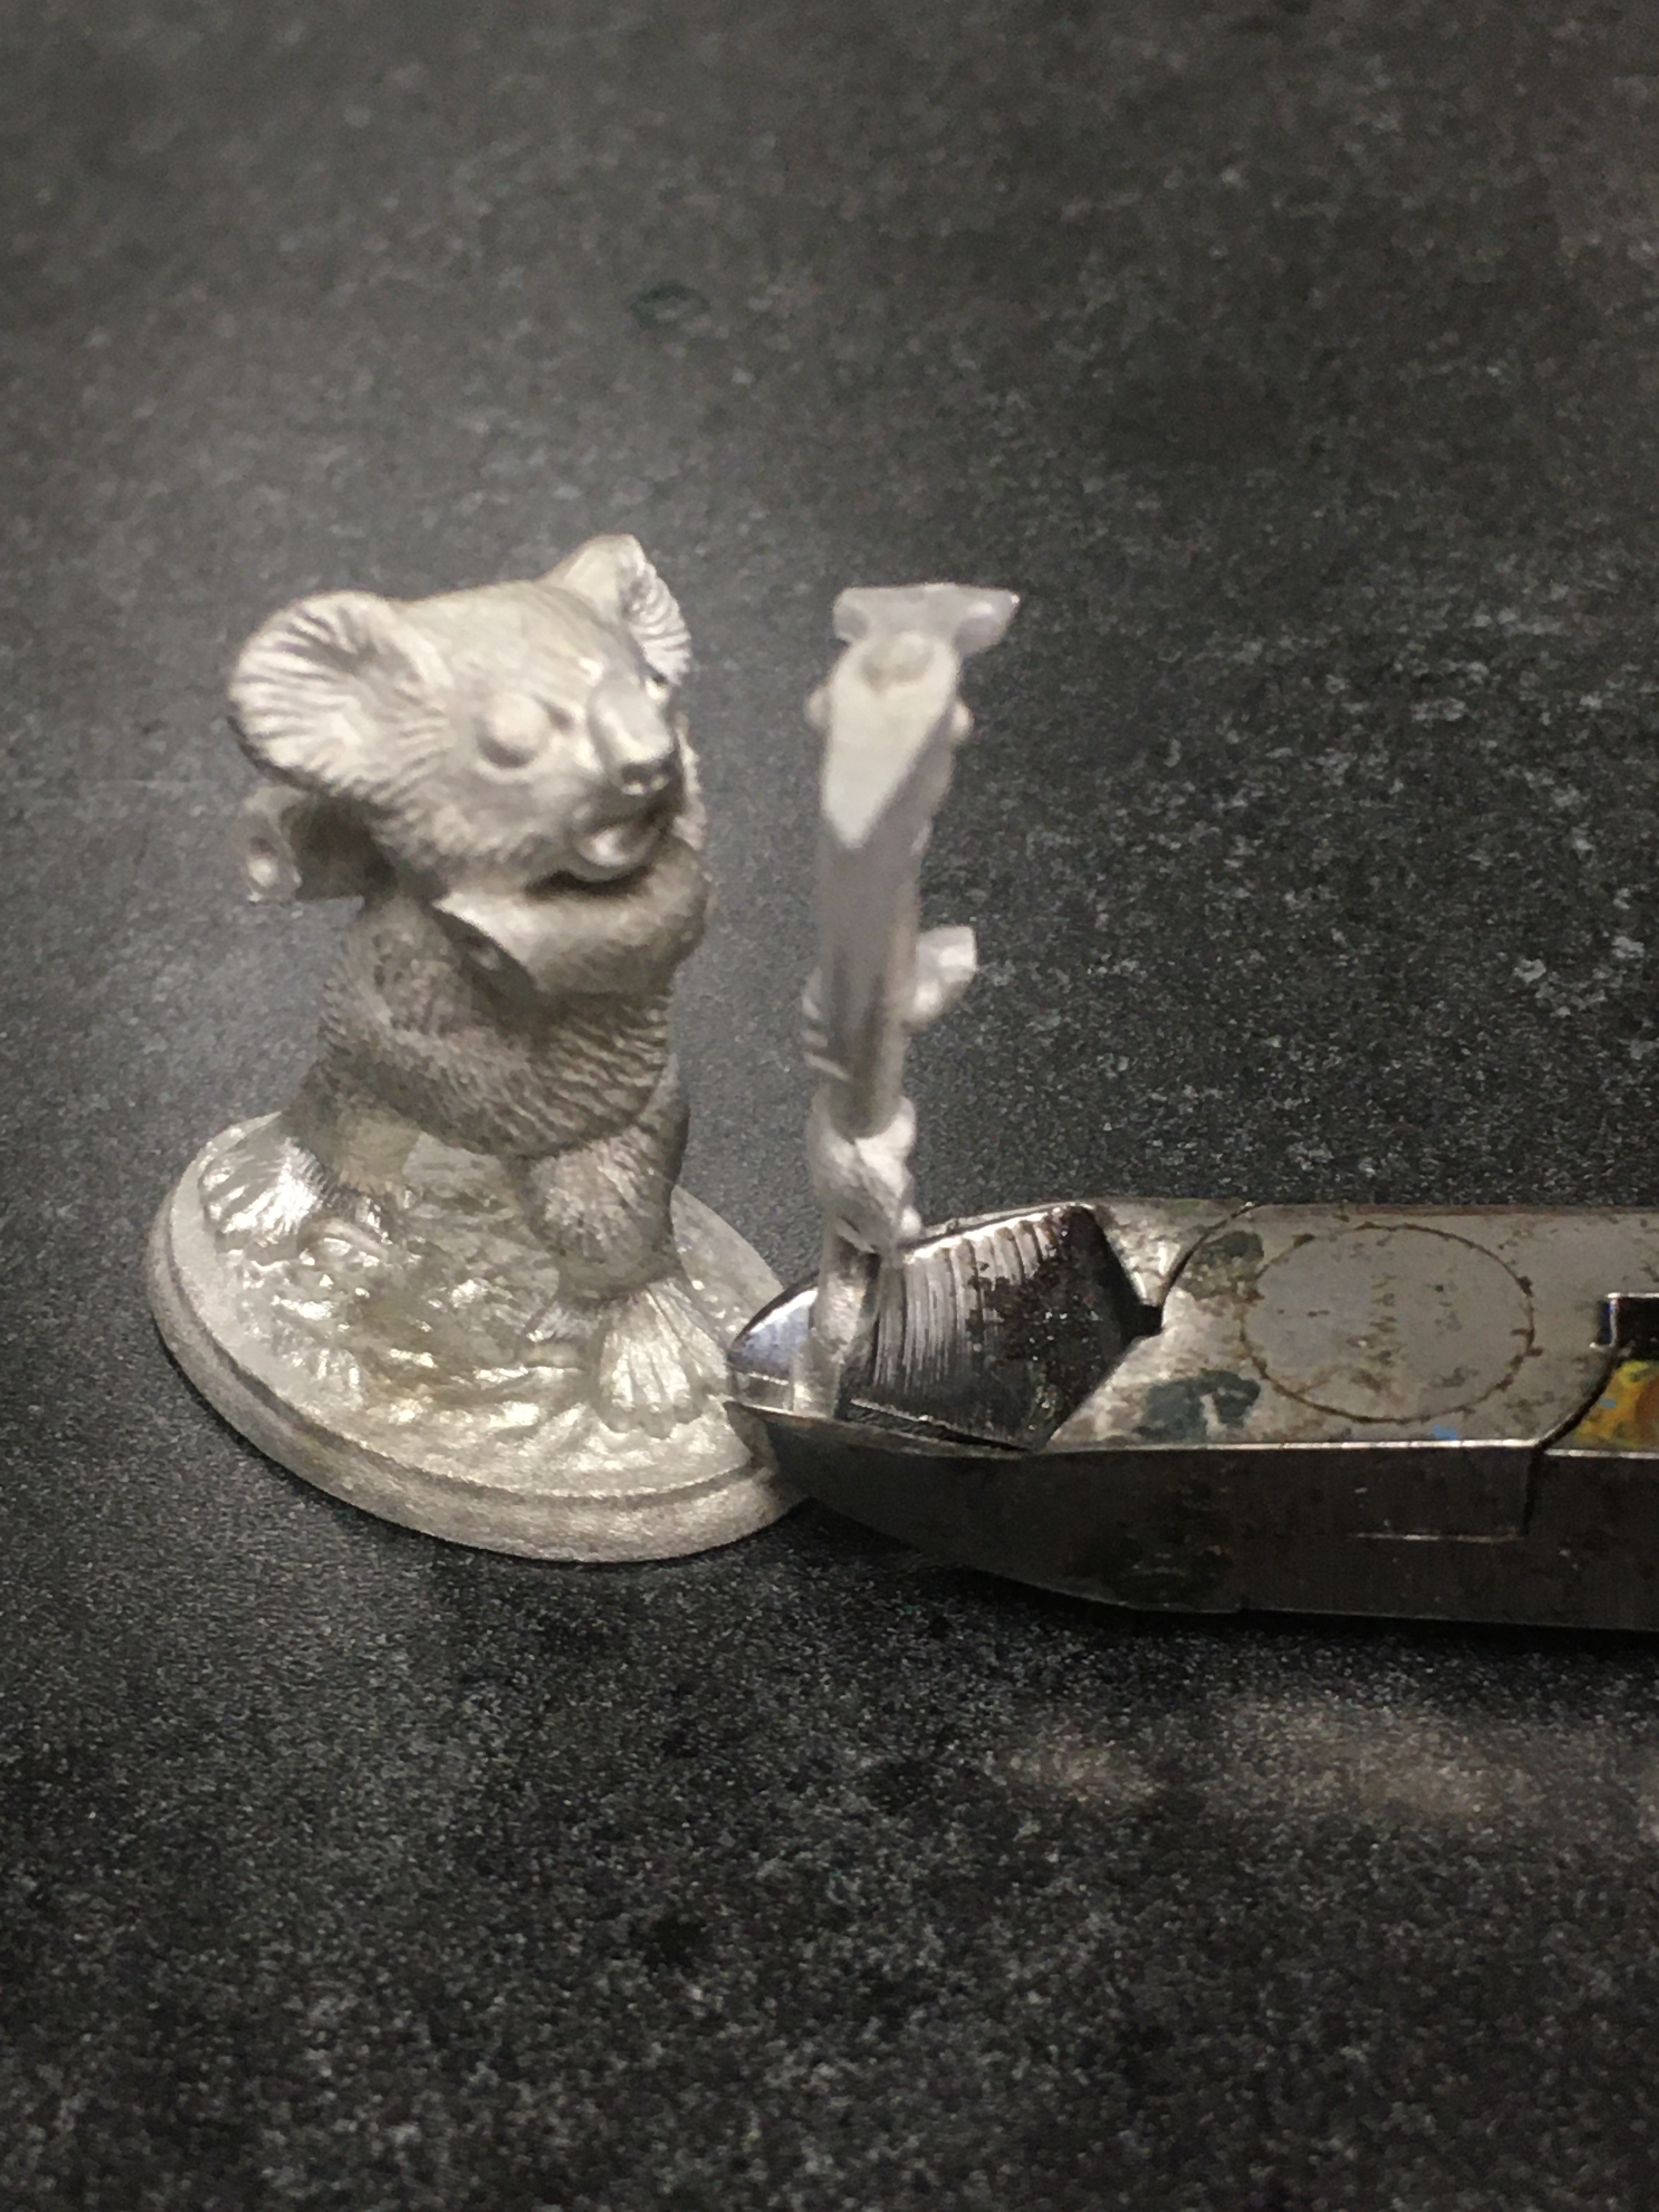
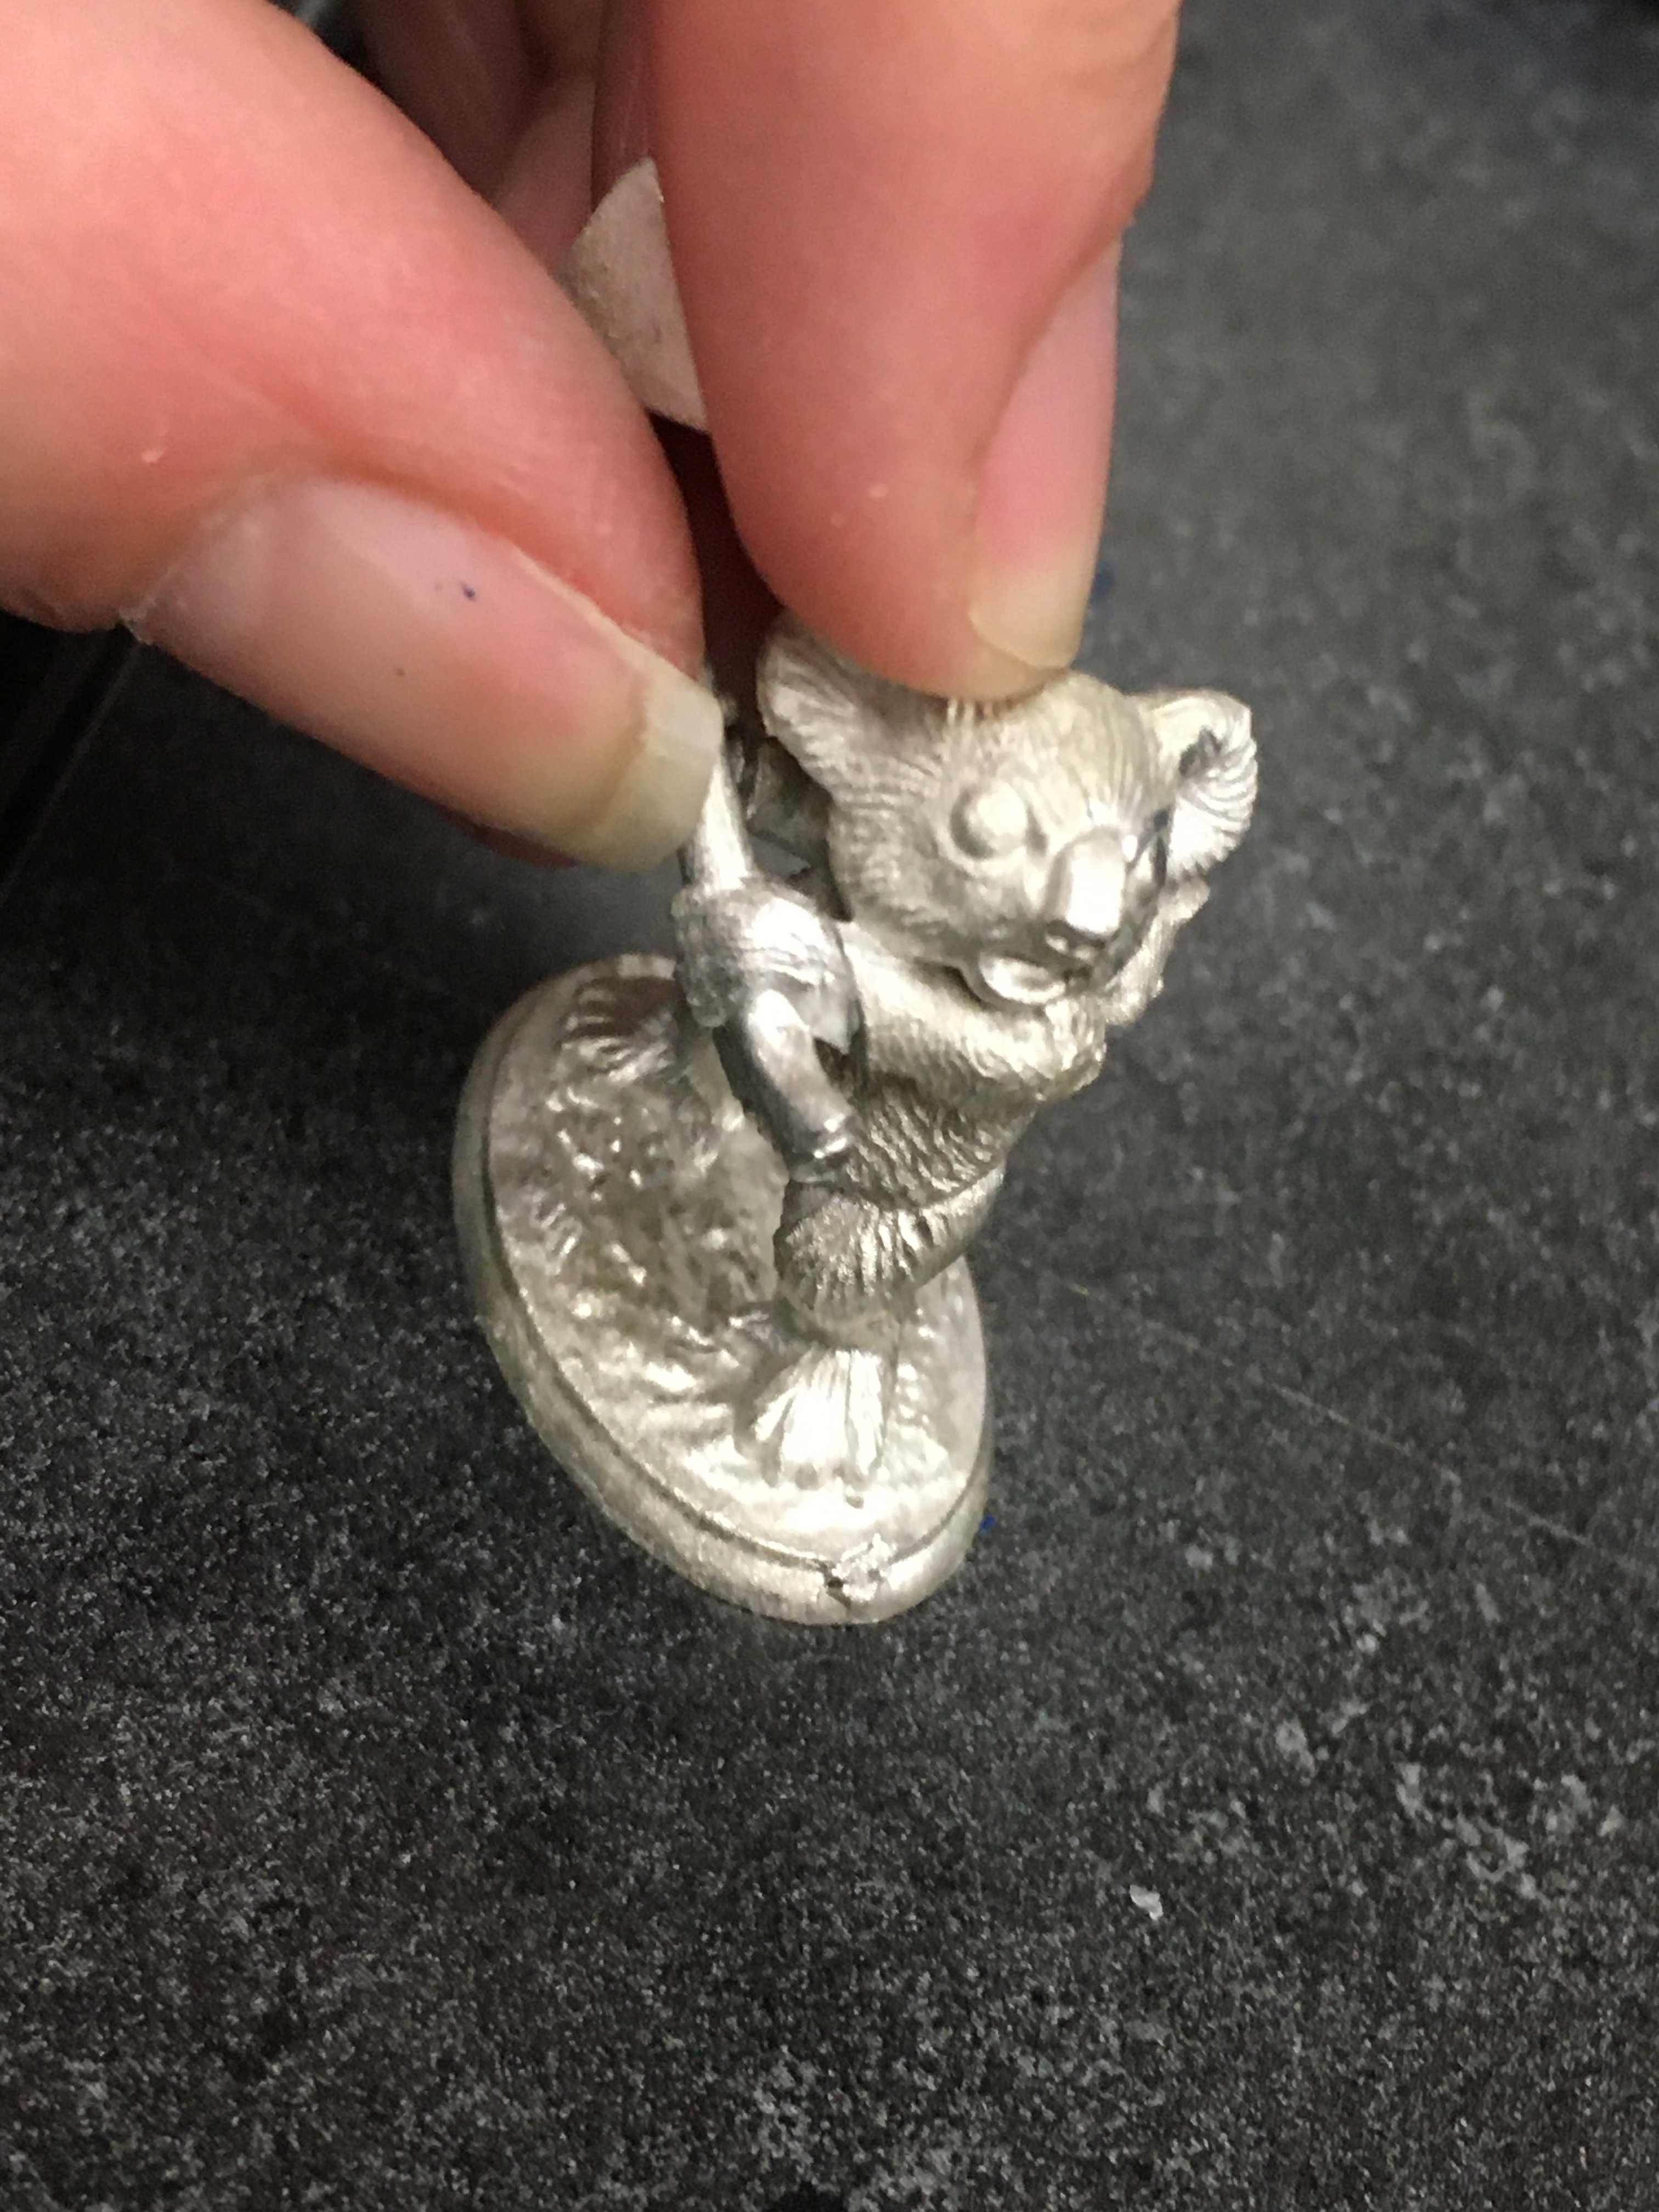
The koala, post priming.
If you absolutely insist on priming a Reaper Bones, go for it! Either use an airbrush or (I’ve heard, but have not tried this myself) Army Painter Primer. There is something in most of the aerosol cans that is released in the primer stream that etches the Bones resin, causing a chemical reaction which leaves the miniature tacky. I have not tried any paint on primers, but there is a chance those could work too. Try it on a small area of the miniature first. I do know for a fact and first hand that priming these the wrong way will leave them very sticky. Hence why I’ve avoided doing so.
What’s next?
You have now completed prepping your miniature! Wooo! The next step will be to start putting paint upon its blank surfaces which we will begin next month with Part 3, “Easy on the Eyes,” where I will discuss how to make one of the hardest things to paint on a mini far simpler than it appears.
Have any questions about this article or any topics you would like to see in the future? Please comment below.
You can also find me at [email protected] or DM me on Facebook via “The Muse’s Touch Miniature Painting” page or on Twitter @muses_touch.


Great tips Carol! I picked up a Bones mini and primed it and it got tacky I won’t do that again.
I actually found out this first hand when I primed the wings of the clockwork dragon. Lucky for me, after I painted and sealed them, the tackiness went away.