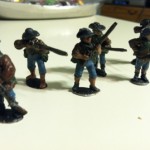
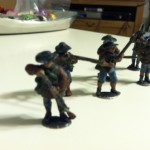
Huzzah! No, I’m not going to discuss Huzzah Con 2011. My wife and I will be in attendance and I will be playing in the only Warlord Games’ Black Powder rules event, Battle of Olustee from the American Civil War, but that is for another blog post and another episode of the podcast. This writing will wrap-up painting the first six American Militia for my American War of Independence Black Powder army.
You don’t need to read my three previous articles, which detail my surprising progress in painting a blister of six Perry Miniatures AWI Southern Militia figures before you read this article. If you want to check out the painting articles on this blog you will see the painting updates for these pewter models. The background information can’t hurt to have in your head.
Last time I concluded the painting session leaving two items on my to do list. The accessories and the guns needed a paint scheme and needed it applied. Good miniatures painters have frequently advised limiting the color palette to two or three colors. My militia men have blue, brown, black, and skin tone. That left room for one other color but what would it be? After spending a few minutes scratching my head the choice was clear. What about green? Black and brown are neutral tones that “go” with just about anything. Green and blue can look nice together. Green is also a color that could have appeared on military forces of the time.
With that settled I surveyed my paints and got to work. I decided to paint straps and all accessories green. Would my guns be green? you ask as you wrinkle your nose. Of course not but let’s cross that bridge when we get to it. All of the accessories were given a basecoat of Knarloc Green. This is a great foundation paint from the Citadel line. Once dry I then applied an ink wash of Badab Black to give the appearance that these items have been carted through the woods. This was followed with a drybrush of Catachan Green on the raised areas.
The drybrush was very light and took several tries to achieve the look I wanted. Hitting the edges and raised areas helped to make those accessories pop. The militia would have little chance of killing Redcoats without their guns. The butts were basecoated back in March but needed a touchup of that Calthan Brown. This was “washed” with Devlan Mud and drybrushed with Graveyard Earth focused on edges and raised areas.
Next step is the barrel. A touchup of Chaos Black helped to reprime the projectile thrower. Boltgun Metal, one of the Citadel metallic paints, was applied next. After drying it was drybrushed with Chaos Black mainly on the barrel to make it look a little dirty. Nobody likes a shiny gun in a fight. Militia need to hide behind trees and sunlight glinting off a gun will likely get a poor militia man’s head blown right off.
The final step is a very important one. The models needed to be protected. Playing with figures puts wear and tear onto the models. Handling them, probably as a result of the oils in our skin, can slowly wear away paint. A great way to diminish the ill effects is to varnish the models. I dislike a glossy model but wasn’t sure how to properly do what needed to be done.
So, I used the resources at hand namely Derek Lloyd and a very nice lady, whose name I don’t know, who paints, beautifully, to find out exactly what I needed to do. They informed me that glossy varnish offers the best protection. Several coats of that is sure to save my models from chipping and loss of paint. That sounds good to me but it is only half of the equation. Testors makes a product called Dullcote, which protectively seals models and, as the name may suggest, leaves a flat or “dull” appearance.
Using Citadel ‘Ardcoat I painted several coats, in turn, on each model. After it dried overnight I grabbed my Dullcote, which is a small spray can, and applies two coats onto the models. My best effort was given to reach each nook and cranny. Being only human, and not a Space Marine, for example, I missed some spots.
Rather than basing my army one blister at a time I will wait until a regiment is painted before basing. Ideally, I’d base the entire army at once. That would save time and would ensure a uniform look. We’ll see how it goes.
Up next is my blister of American Militia advancing with weapons shouldered.
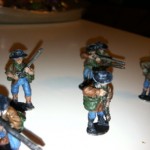
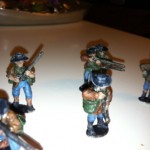
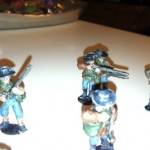
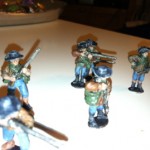
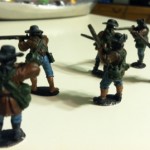
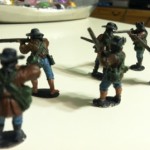
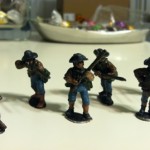
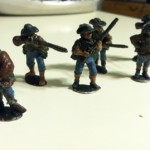
Below you will find pictures of the finished models.

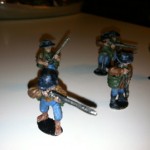
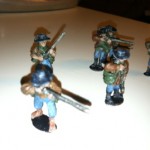
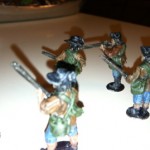
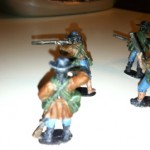
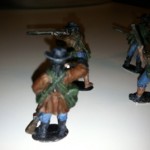
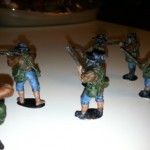
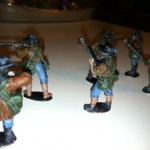
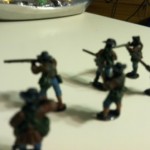
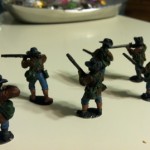
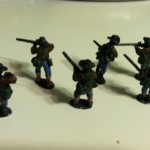
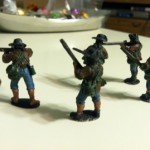
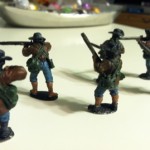


Great job. Well done,
Thanks Paul! My photography leaves much to be desired as does my painting. But, these are figures that I’m proud of. That is a new feeling for me. Don’t be surprised if I steal, I mean borrow your number tracker that shows how many models you’ve painted. That really is a great idea. It is doubtful that my number will get as high as your’s though.